Adding Applications to YeshID
Last updated: July 23, 2026
This guide explains how to add Applications to YeshID through multiple methods:
Adding Applications Individually
💡 This approach is useful if: You'd like to have full control over adding your apps 1 by 1
2. Navigate to your Applications page
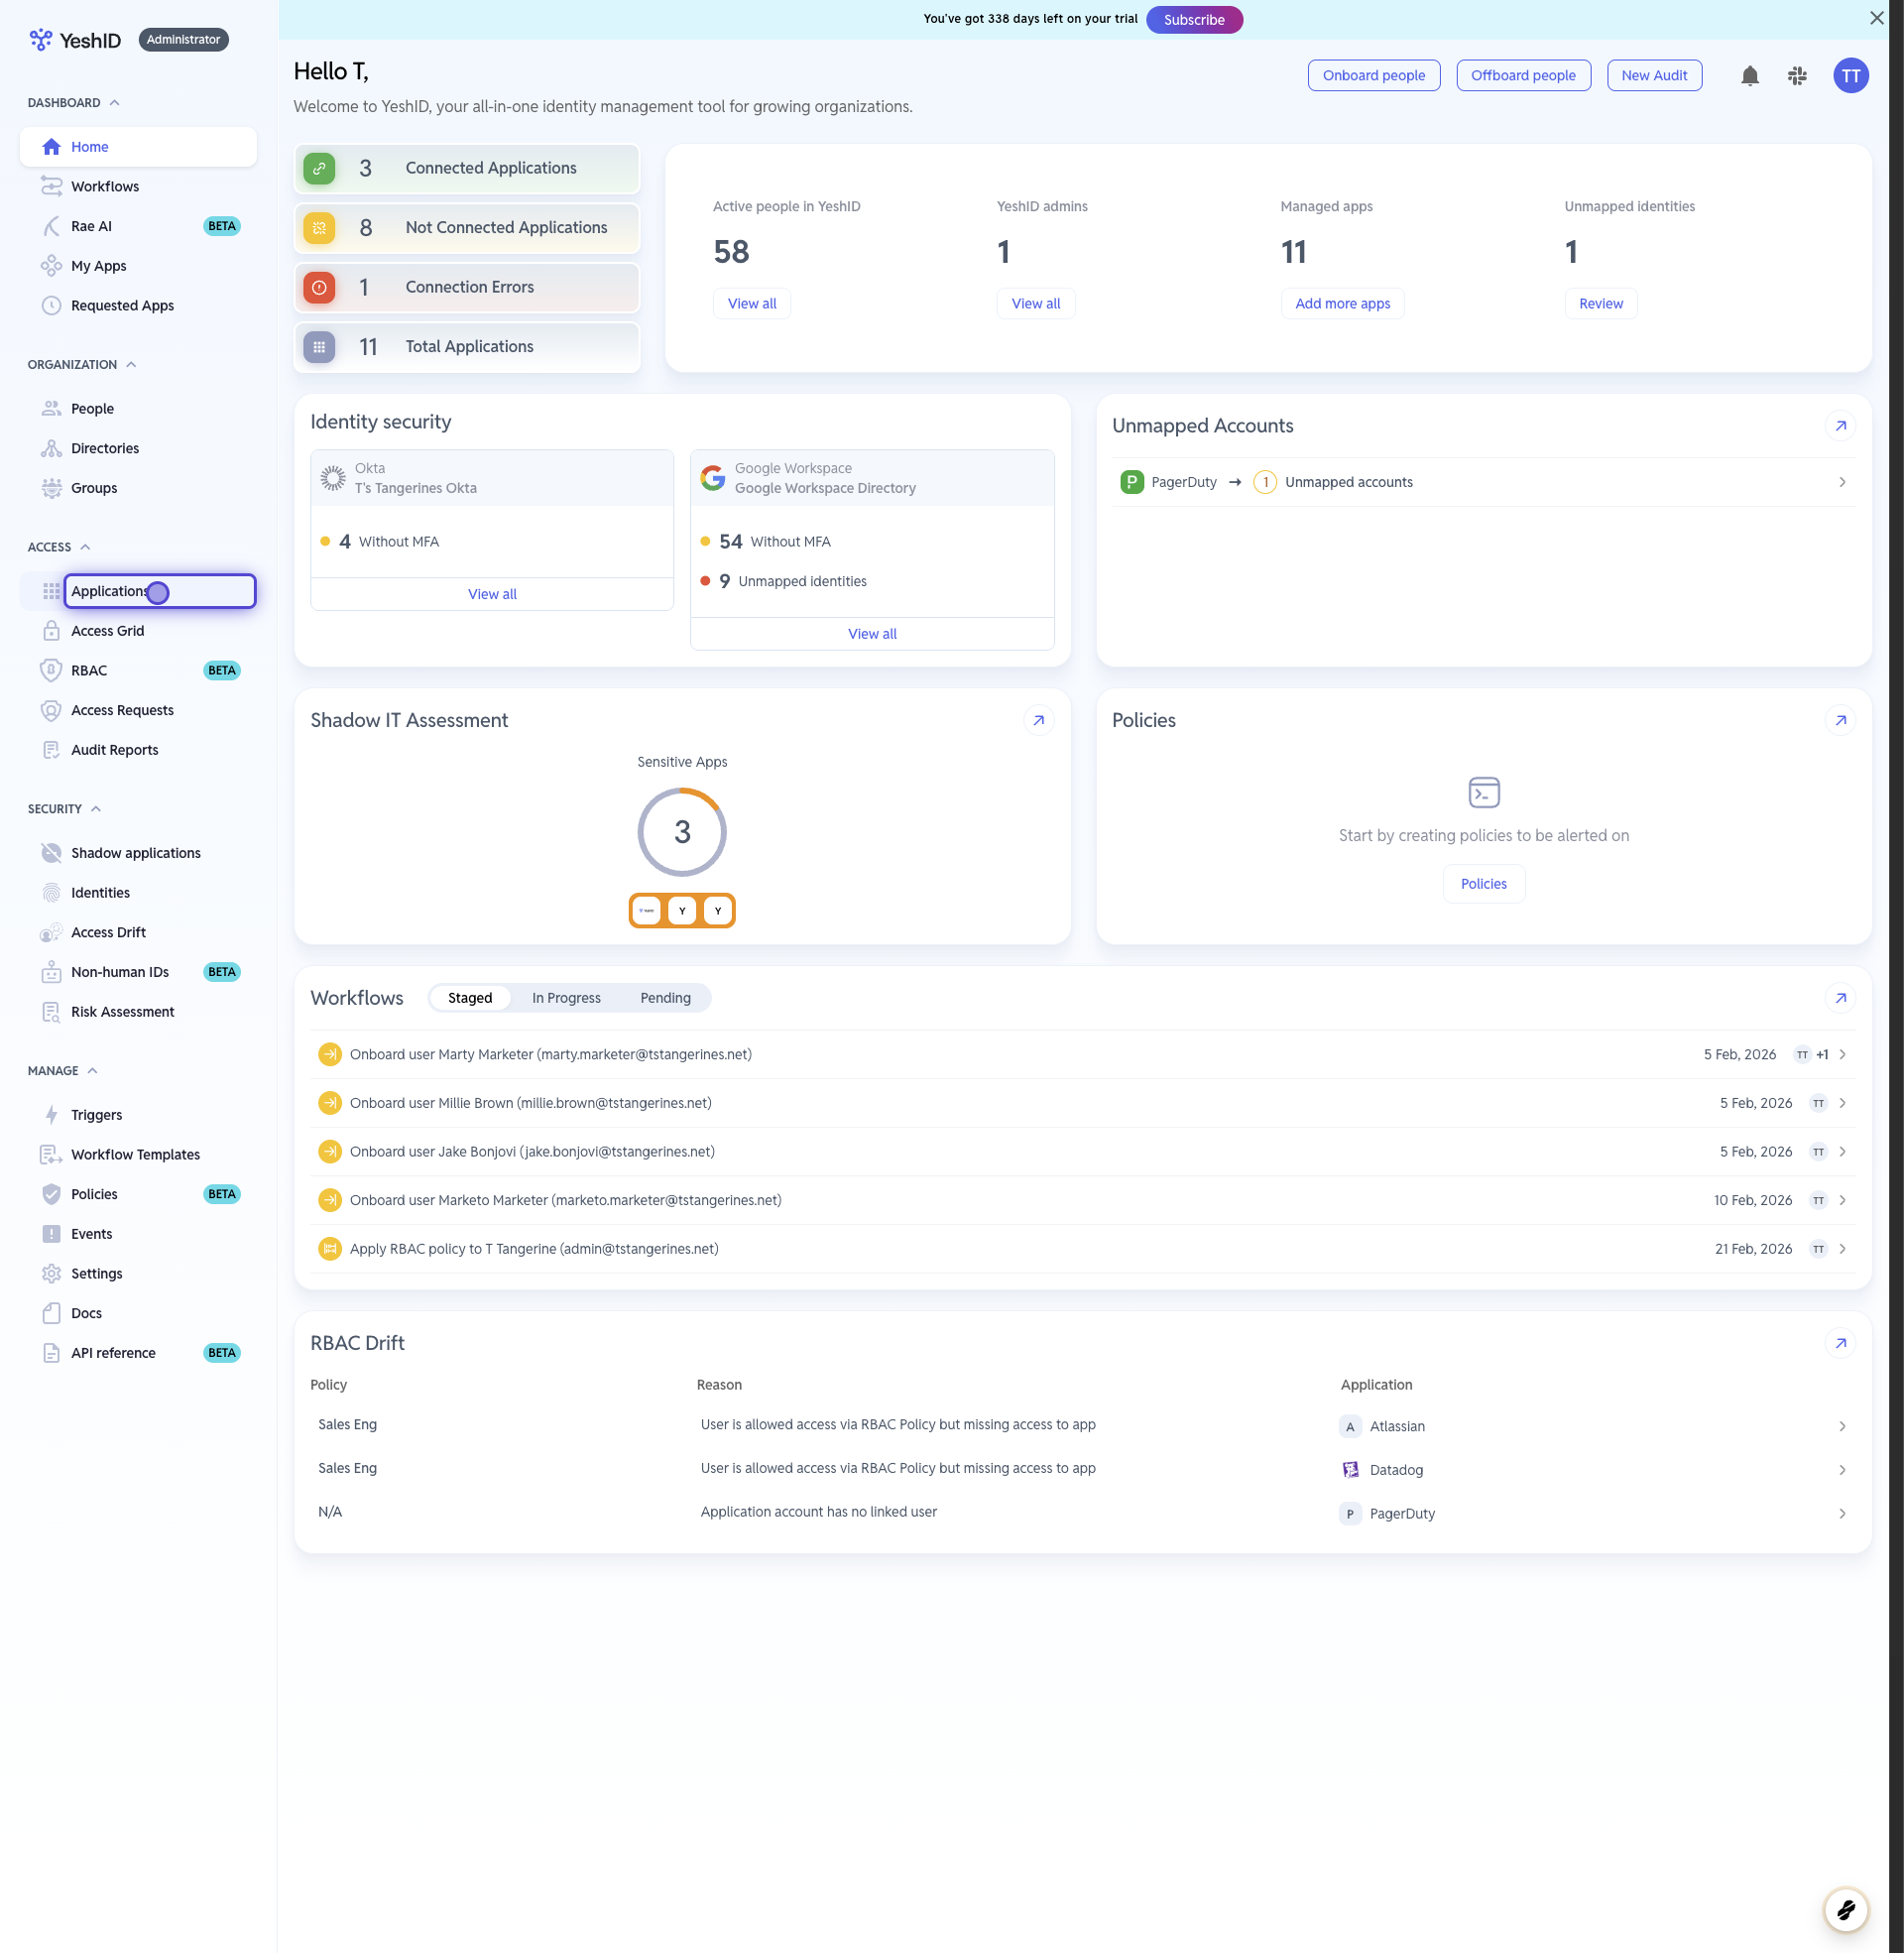
3. Click on Add application

4. Choose the Application you'd like to add
This list contains all applications that are currently known to YeshID. If there's one that doesn't exist, or even a custom/internal/hombrew one - you can add it in by typing the name of your app and hitting enter.

5. Select (or specify) the application that you'd like to add

6. Pick your Technical Owners (TO's)
Technical Owners (TO's) are the users that will be notified any time there is an action pertinent to that application (i.e. such as an Onboarding, Offboarding or Access Request)

7. Click on Add

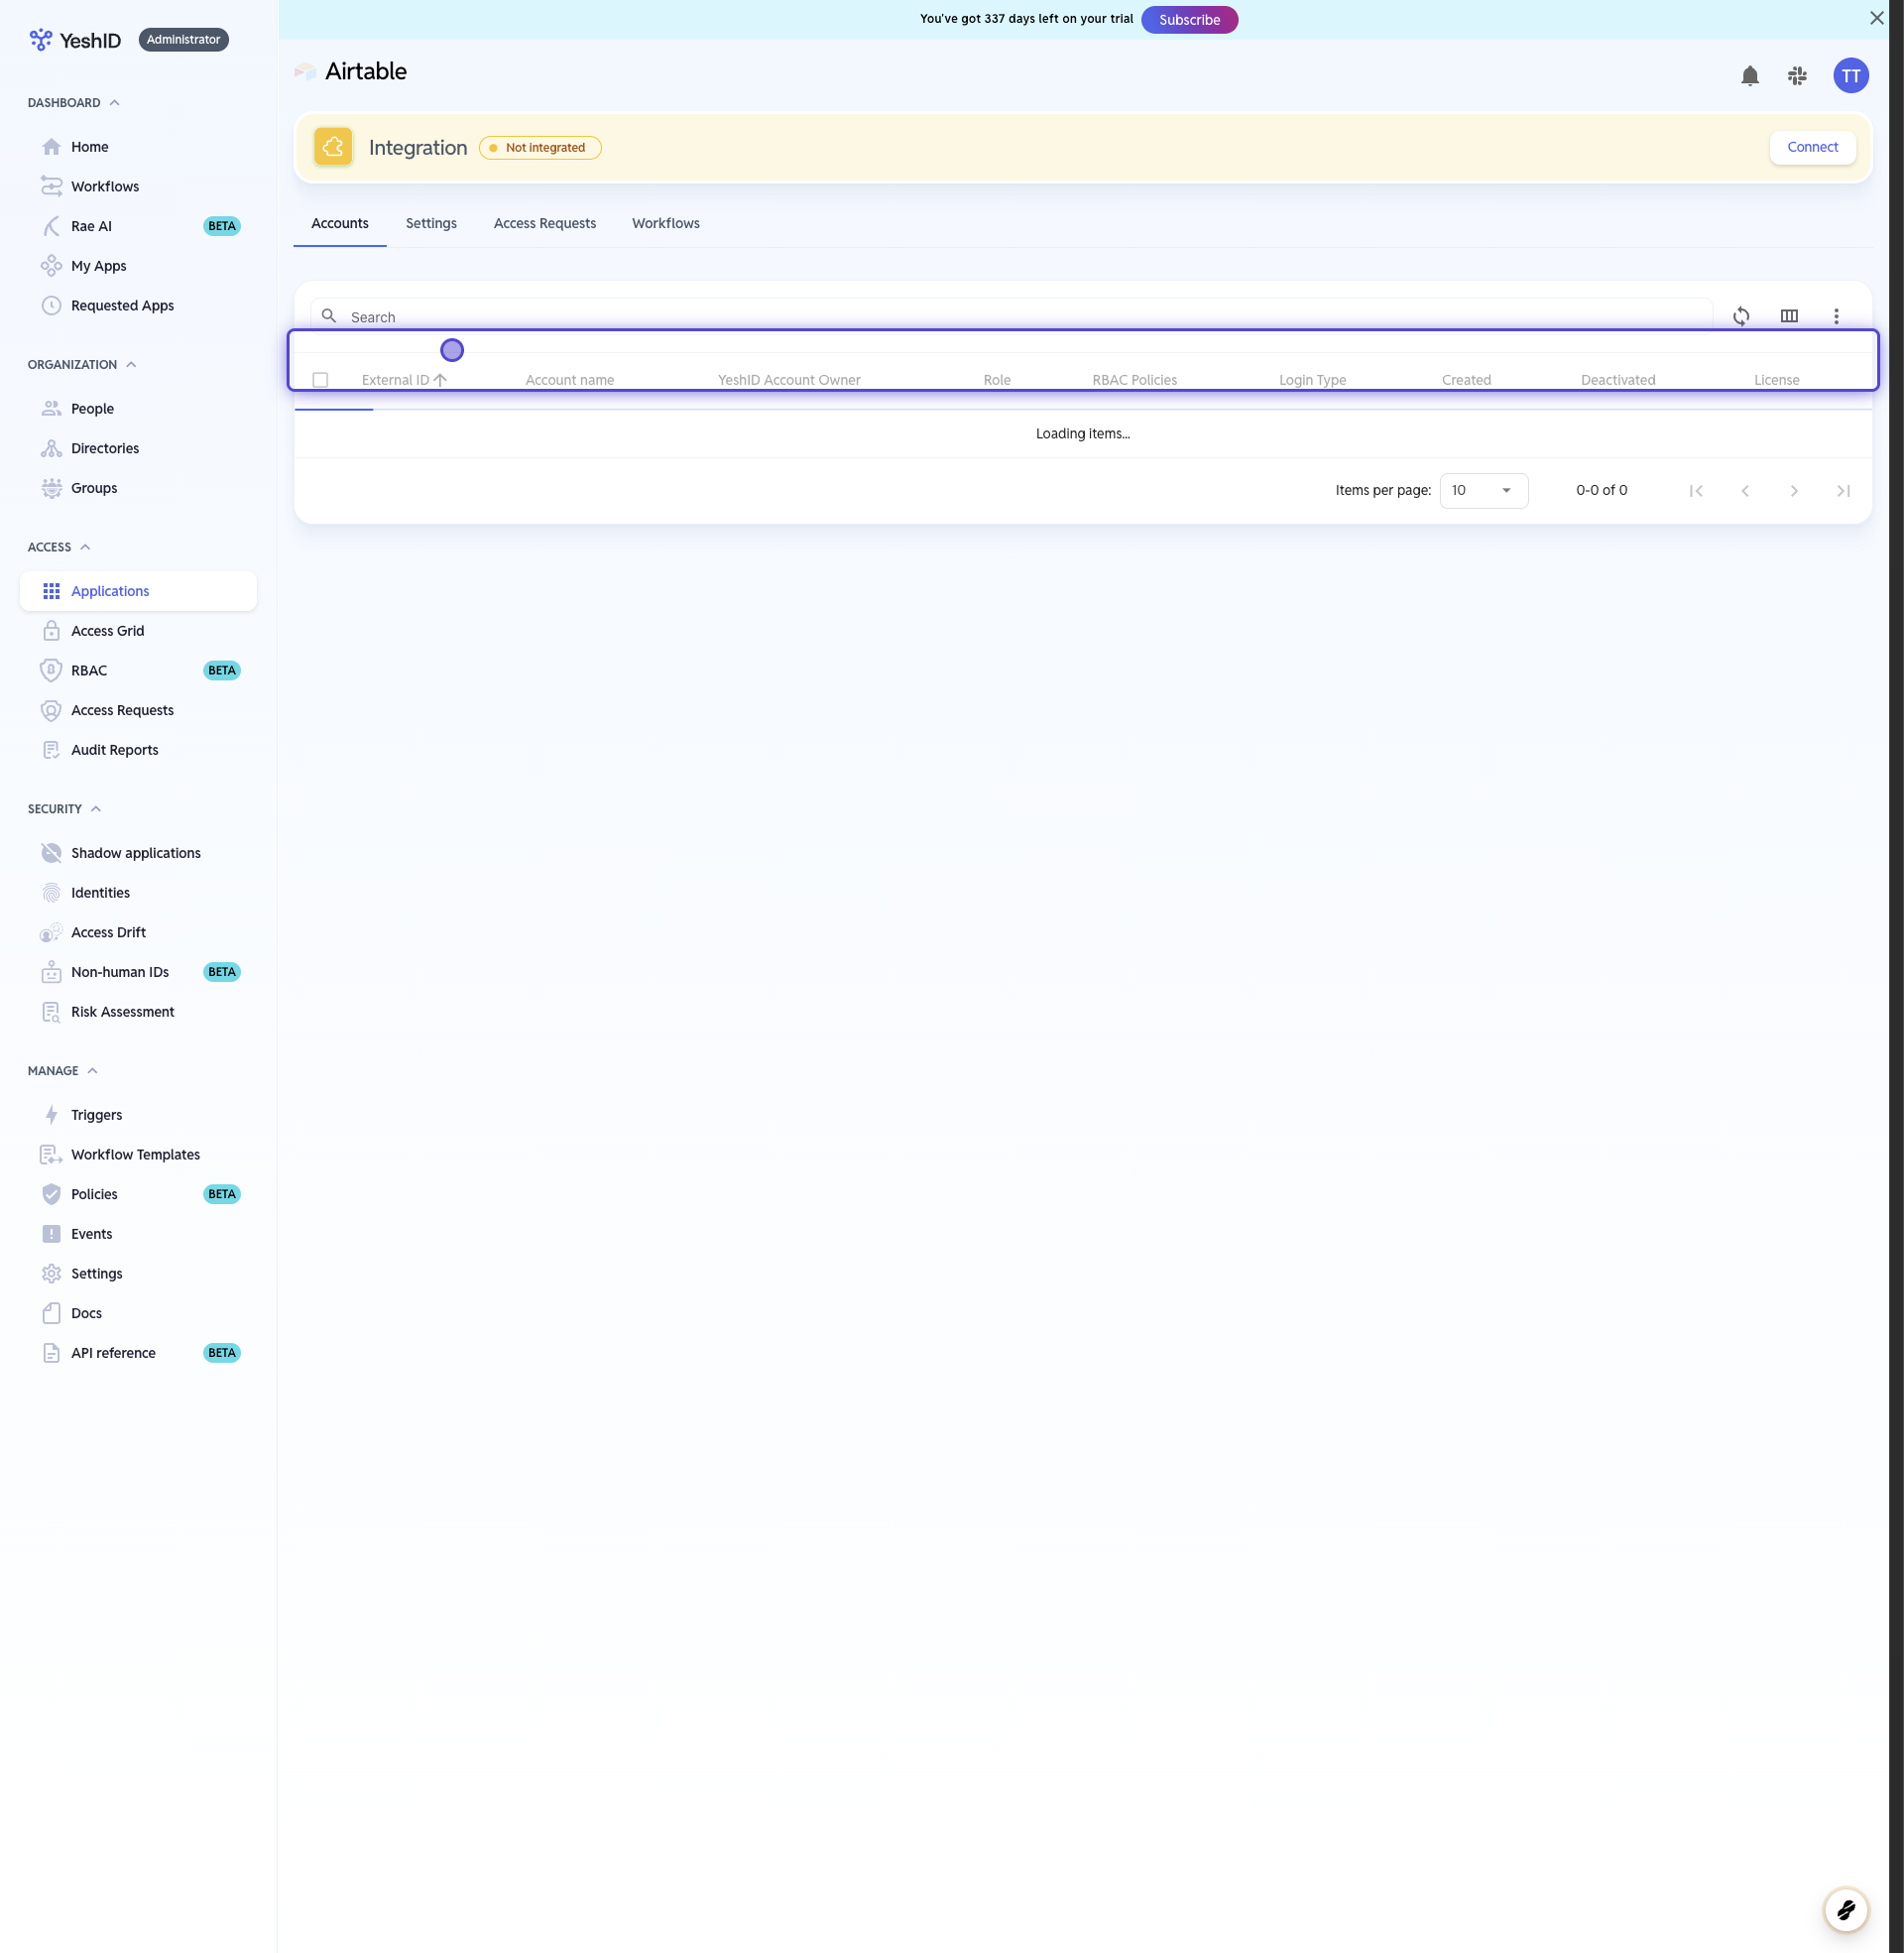
9. Click on Settings to view your Technical Owners

Bulk Upload Apps by using AI Paste
💡 This approach is useful if you have a text list of applications somewhere.
1. Click "Import Applications"
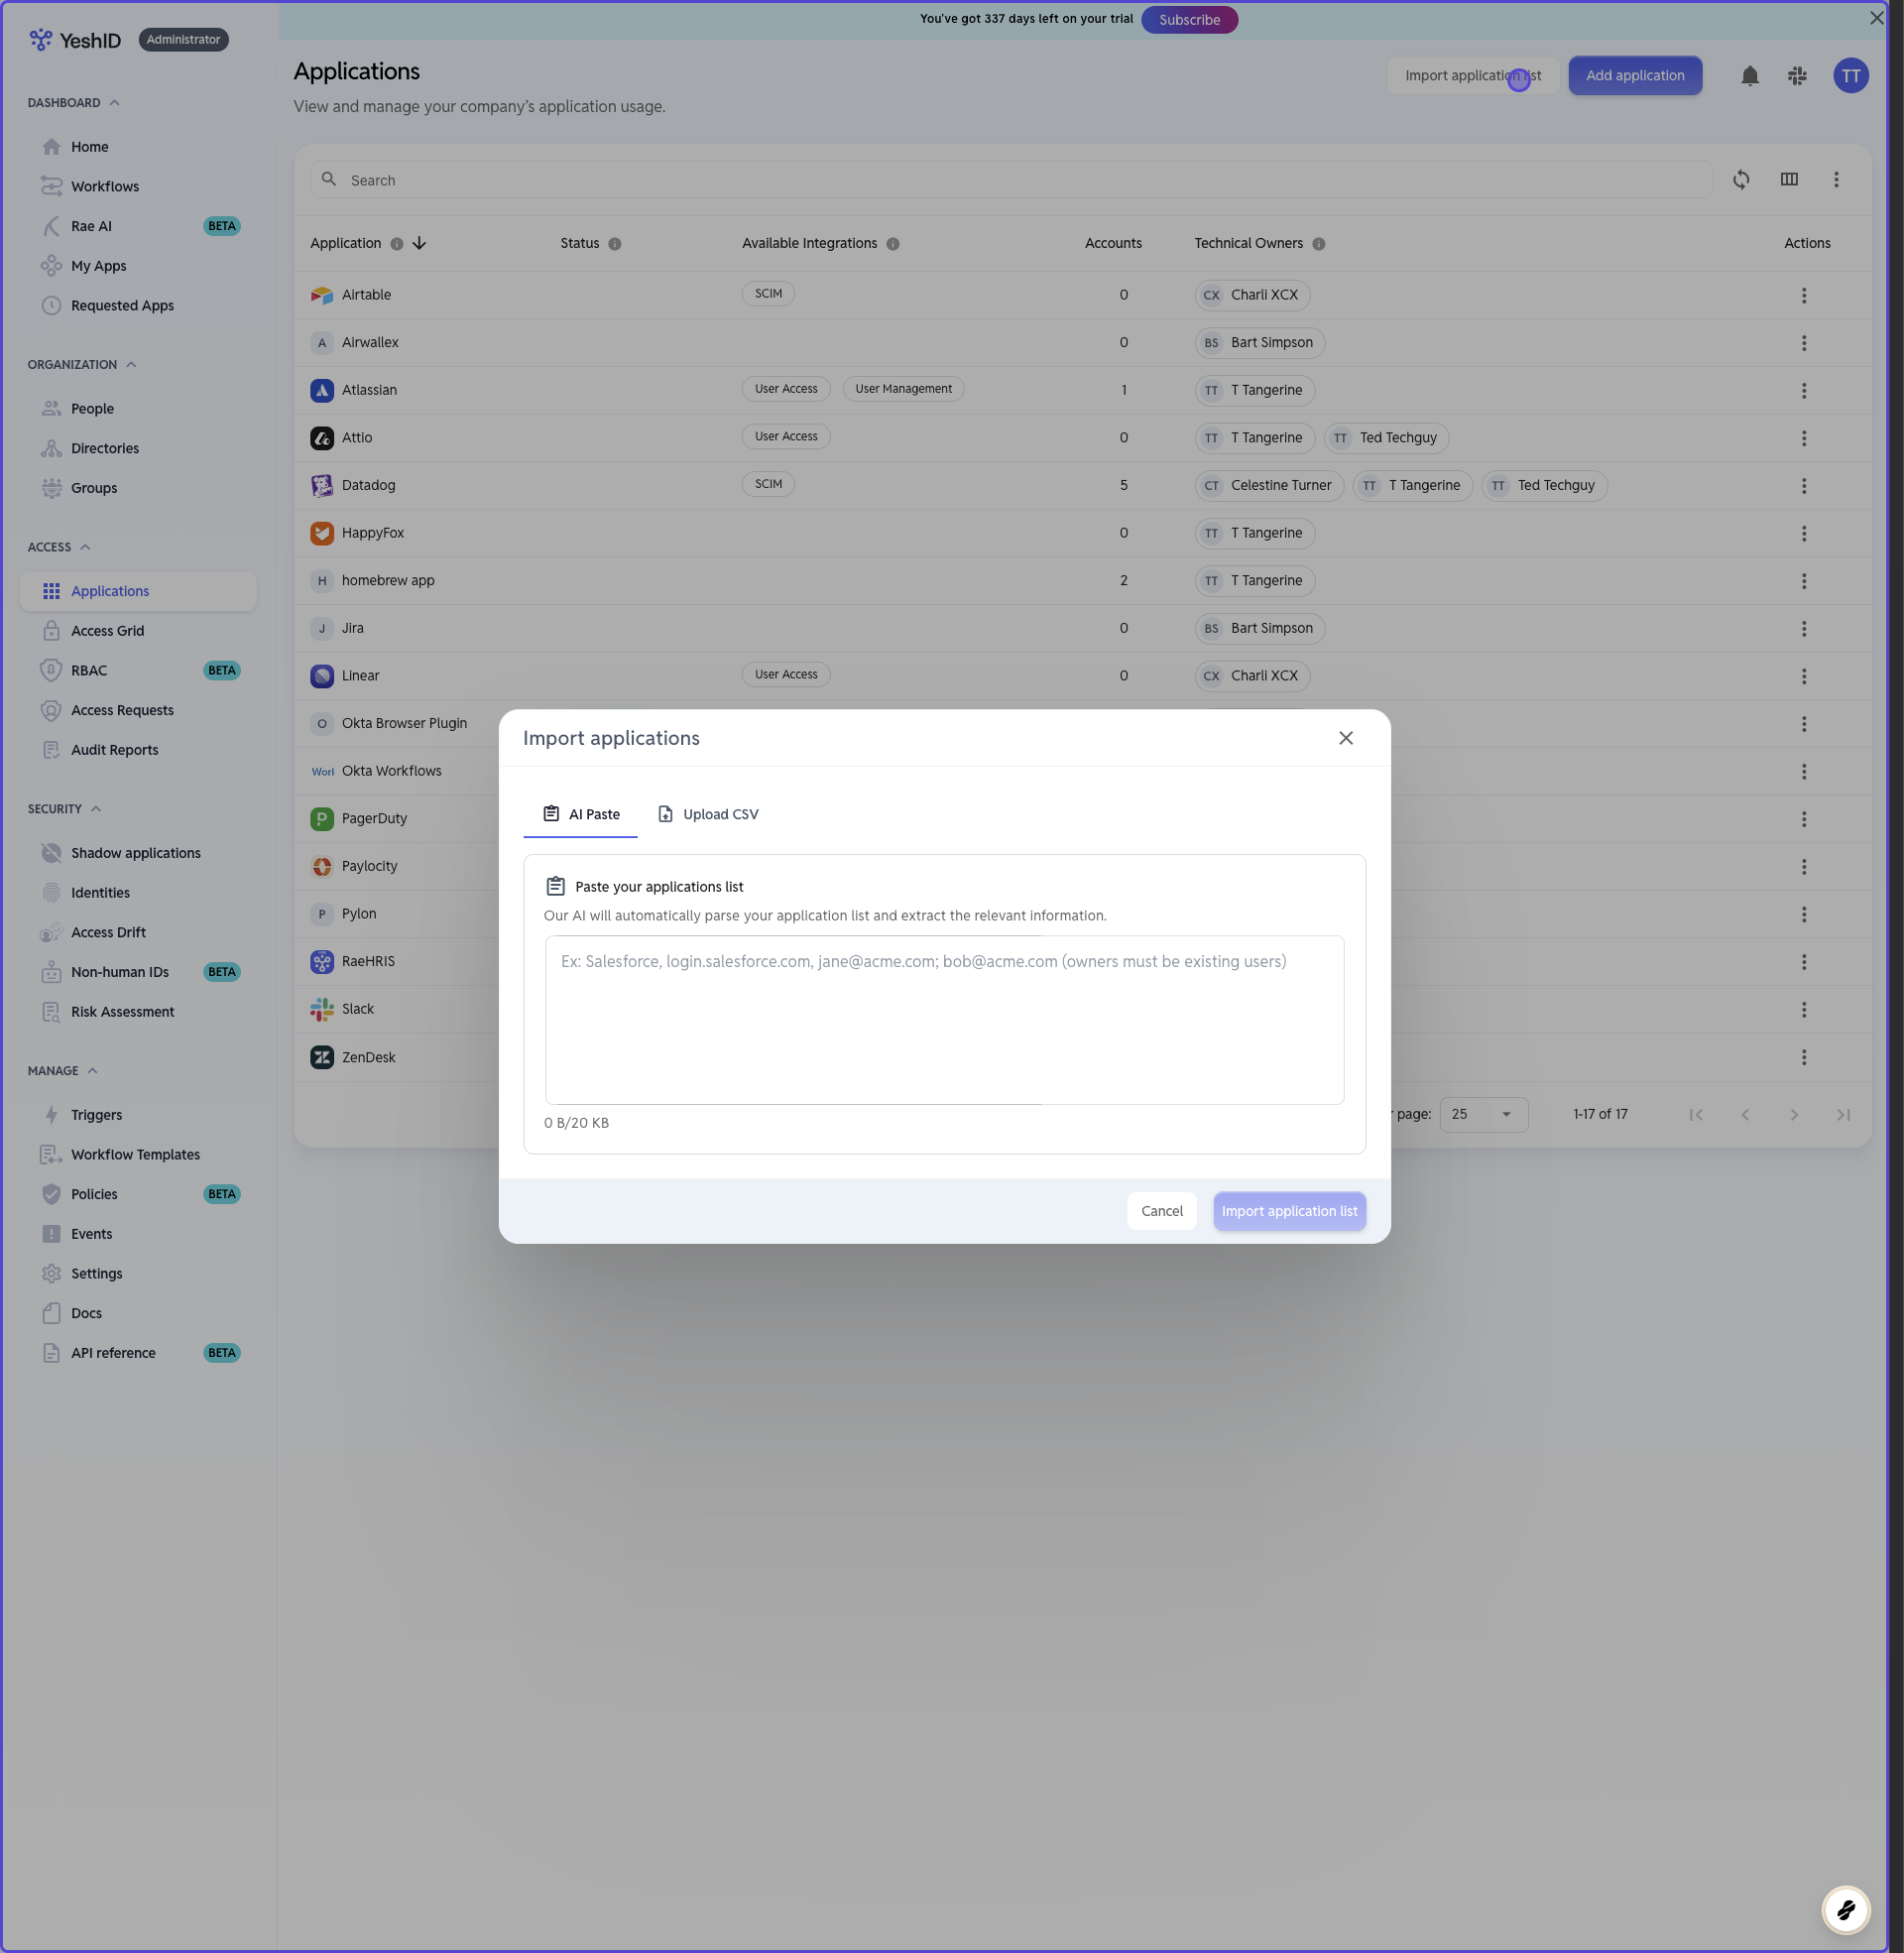
💡 The YeshID AI helper will look for:
Data in the format of: Application Name, Login URL, Administrators (separated by semicolon) \n
But only the Application Name is required . If you are able to provide more information, it will help the AI helper add in Login URL's and Administrators.
(It uses the same format as the template provided in Bulk Import by CSV below)
Example
Linear https://linear.com charli.xcx@tstangerines.net
Attio https://app.attio.com admin@tstangerines.net; ted.techguy@tstangerines.net
Pylon https://app.pylon.com admin@tstangerines.net
ZenDesk admin@tstangerines.net
HappyFox admin@tstangerines.net
2. Paste in your list of Applications

3. Click on Import application list

4. Your applications will be Upserted!
YeshID will take the safe action of UPSERTING (Updating or Inserting) your applications
Any new information for existing applications will be UPDATED;
All new applications will be INSERTED

Bulk Upload Apps By CSV
💡 This approach is useful if: You already have your applications in a spreadsheet (i.e. if you've just done an audit within your organization)
1. Go to Access Accounts | YeshID
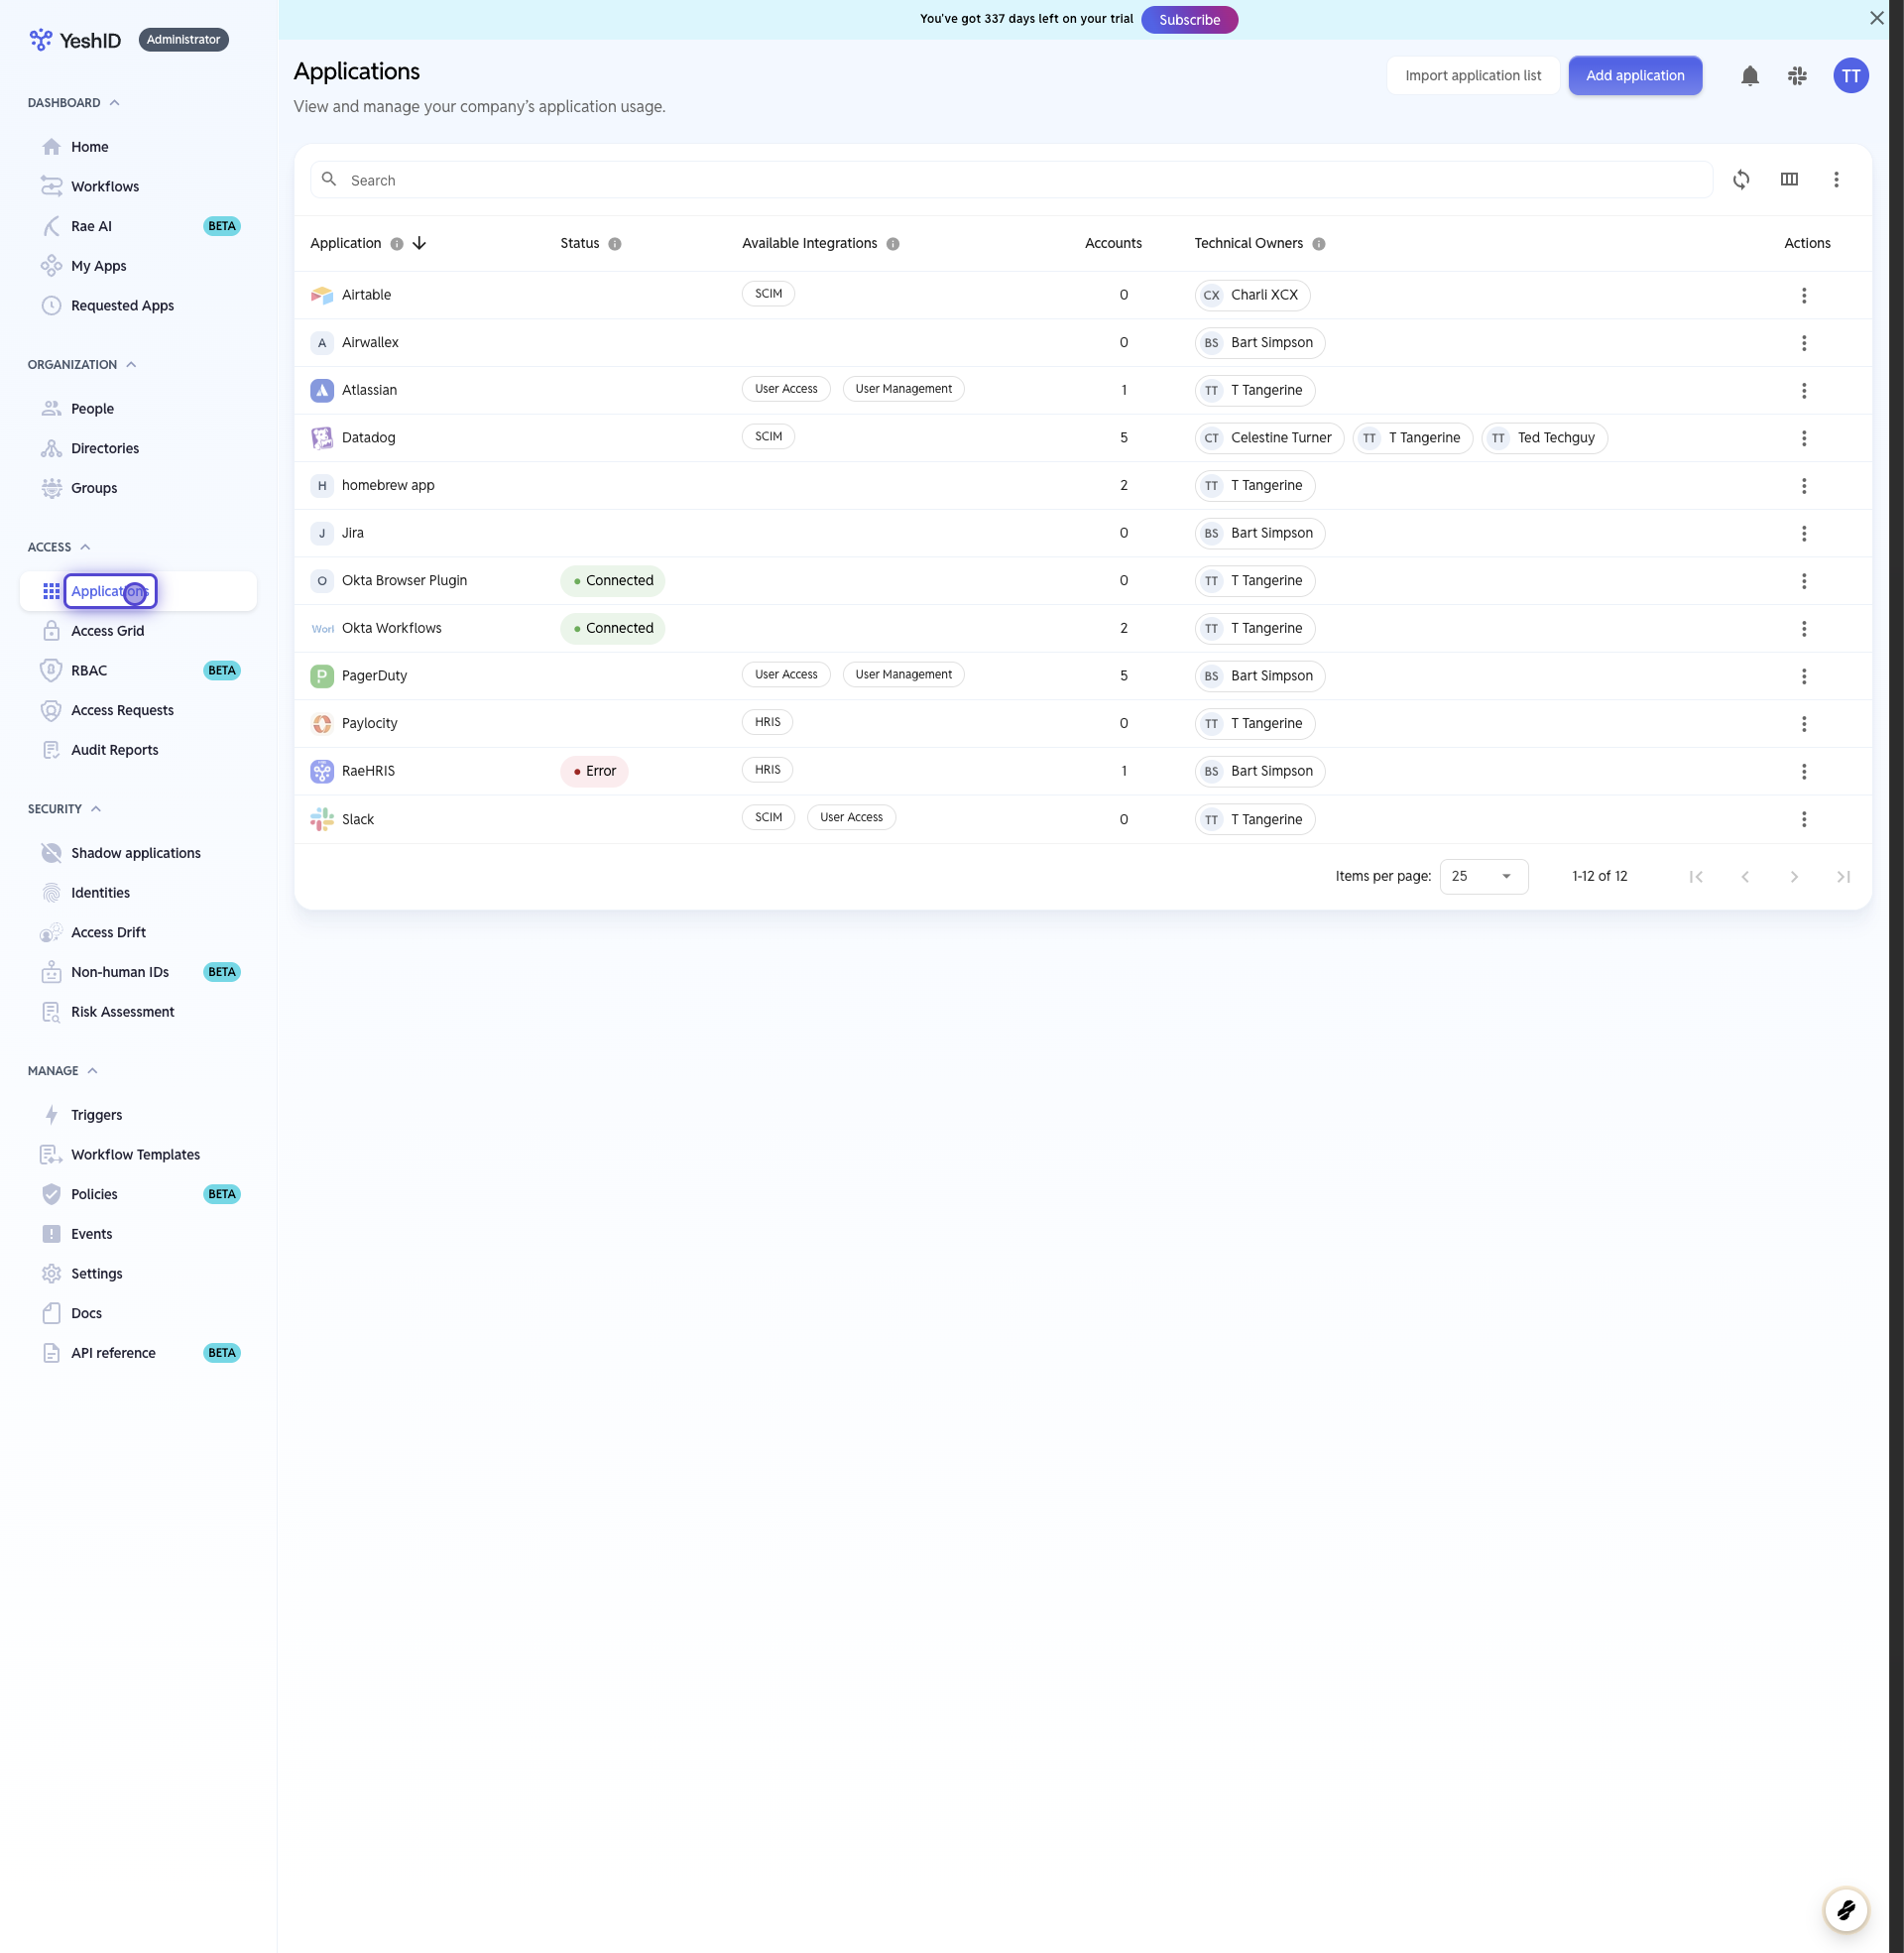
2. Click on Import application list

3. Click on Upload CSV

4. Click on Download CSV template

5. Open the template in your CSV editor
You can use your tool of choice (i.e. Excel, Numbers), we're using Google Sheets as an example.

💡 At minimum, YeshID only requires your Application Names.
LoginURL's and Owners can be left blank, which will just lead to the Owners defaulting to the user that uploads the list.
6. Fill out the details of your Applications
LoginURLwill be the link that backs the "tiles" in your users "My Apps" screen.Ownersrefer to the Technical Owners (TO's) for your apps. These are the people that will be notified whenever there's a pertinent action (i.e. Onboarding, Offboarding, or Access Request)
7. Export the List as a CSV

8. Click on Drag and drop a CSV or click to upload

9. Click on Import application list

10. Your applications have now been Upserted!
When uploading an Application List via CSV, your data will be UPSERTED (Updated or Inserted). That means YeshID will:
Update any existing applications with new information; and
Insert new applications if they are on your list.

Adding applications from Shadow Apps
💡 This approach is useful if: You want to look at applications that are already being logged into by Users.

2. Click on HubSpot

3. Click on Add as managed application
