Connecting & Integrating with Datadog [REST API]
Last updated: August 22, 2025
Introduction
Below are the steps for connecting YeshID with Datadog for integration via REST API for CREATE and DELETE operations.
Steps:
Create an API Key in Datadog https://app.datadoghq.com/organization-settings/api-keys
Create an Application Key in Datadog: https://app.datadoghq.com/organization-settings/application-keys
Scopes: "User Access Management" should be checked off.
Note: The Application keys inherit the permissions of the person creating it and can only be scoped down.
In YeshID, add application Datadog (if it doesn't already exist) and head to Integration Management
Click "Authentication" and add the following:
DD-API-KEYis the API key you created.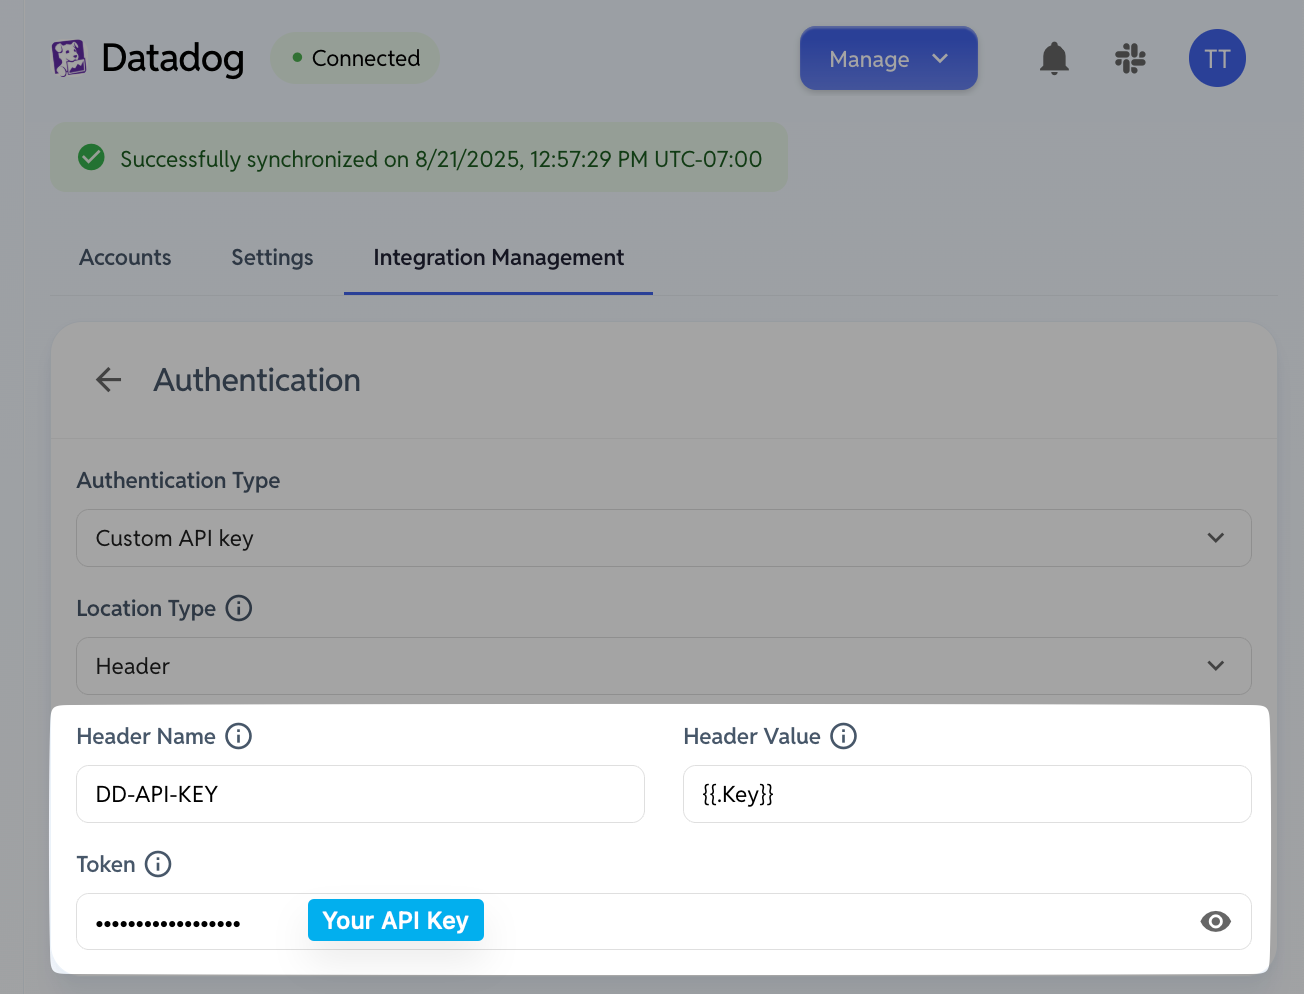
For Import and Mapping, set the following values:
Set Endpoint URL to be
https://api.datadoghq.com/api/v2/usersSet Header
DD-APPLICATION-KEYto be your Application Key.Click Test
You should now see your users being retrieved
Create Users (Invites)
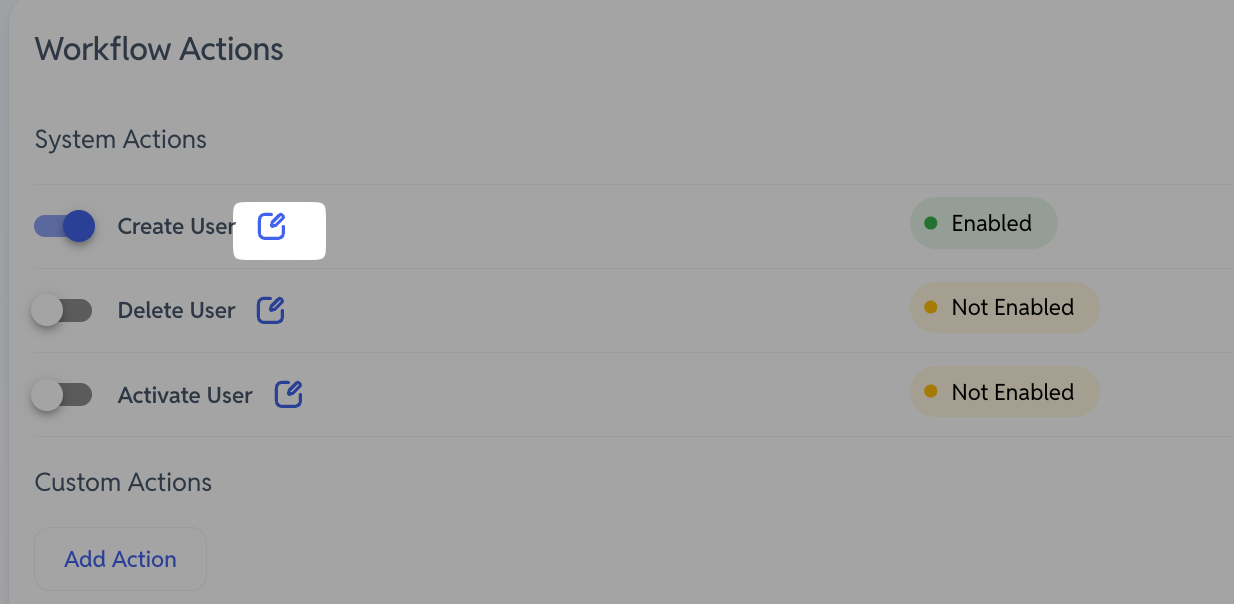
Click the Pencil Icon for Create Users
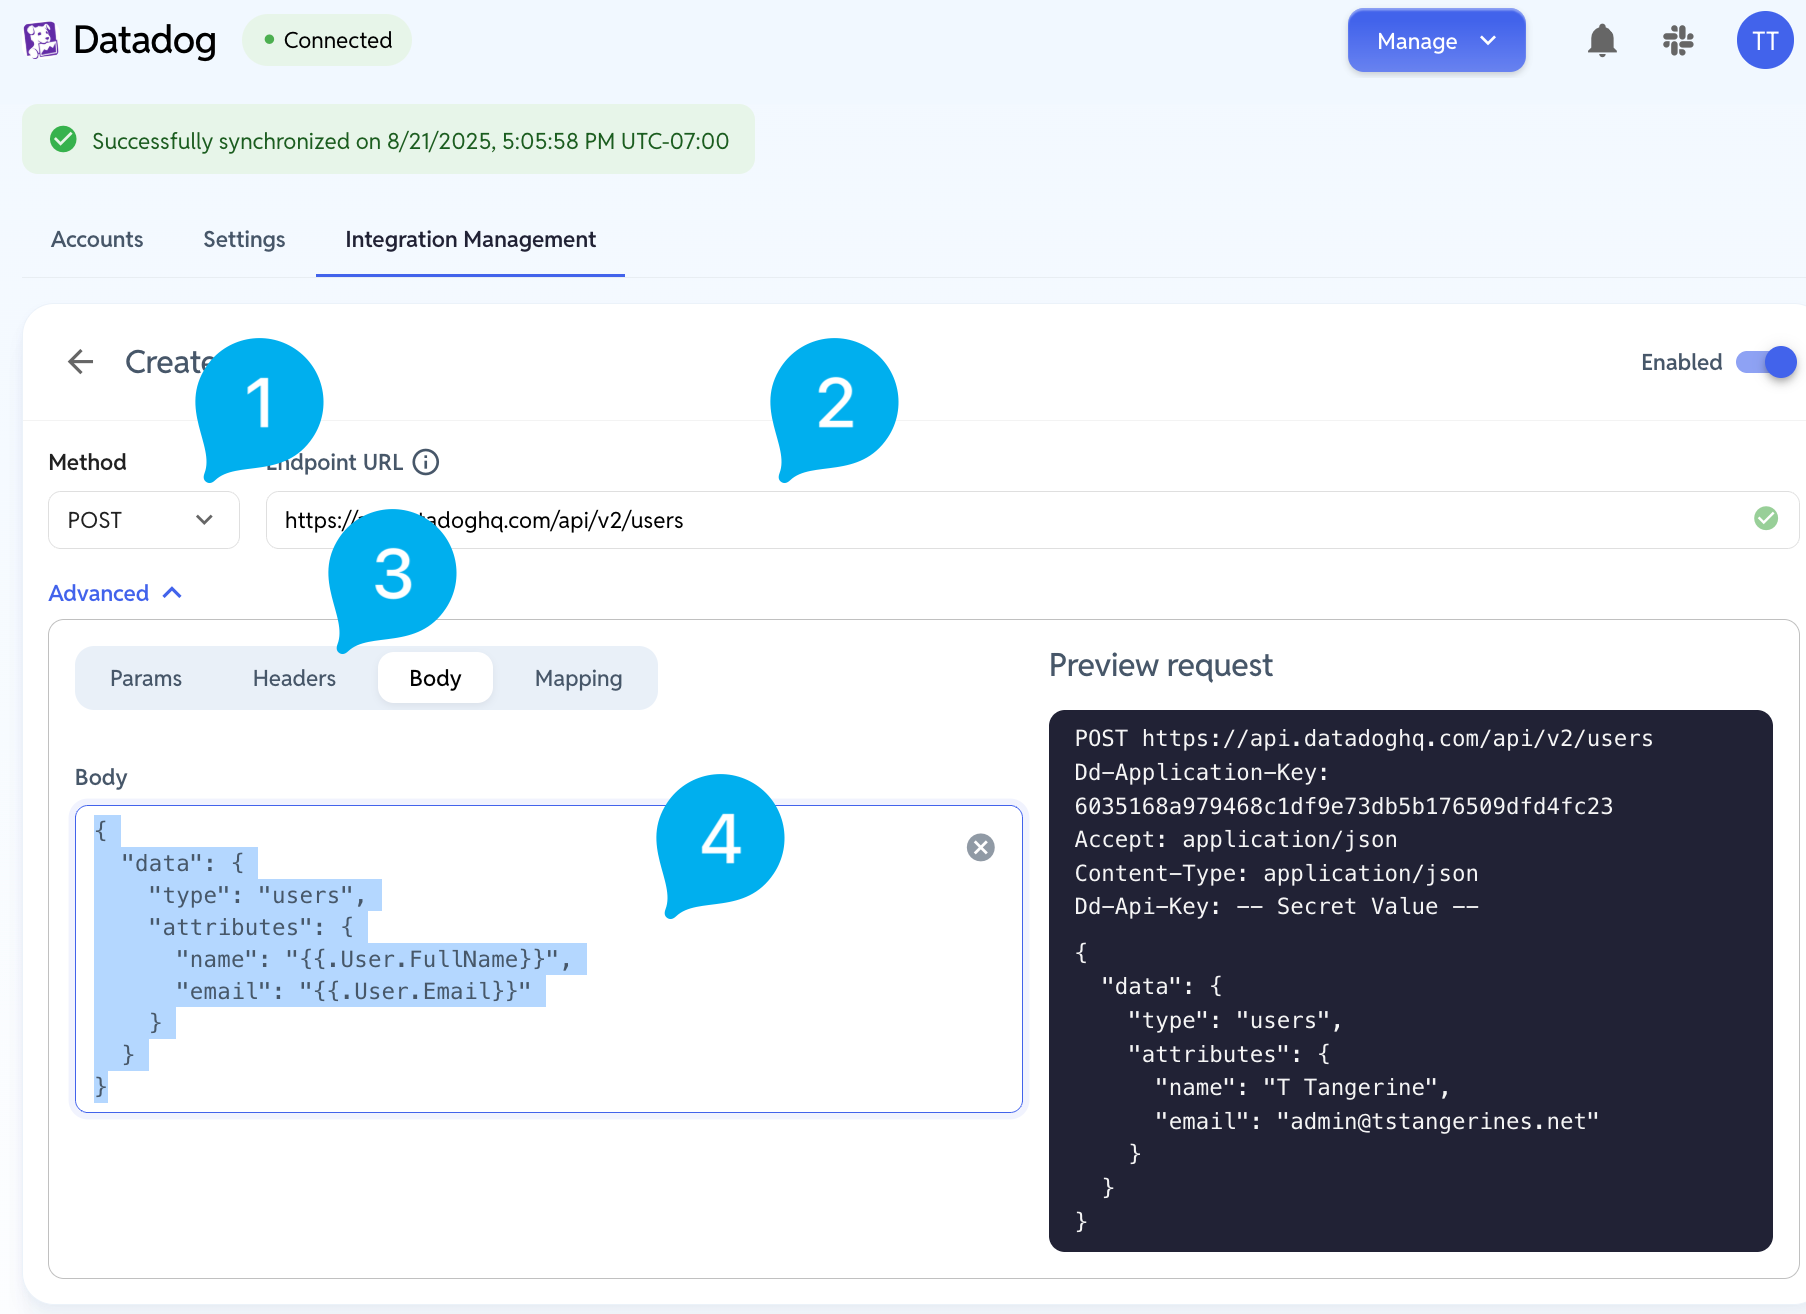
Add the header for
DD-APPLICATION-KEYwith your Application key (see above)Set Method:
POSTand Endpoint URL:https://api.datadoghq.com/api/v2/usersSet Payload Body:
{
  "data": {
    "type": "users",
    "attributes": {
      "name": "{{.User.FullName}}",
      "email": "{{.User.Email}}"
    }
  }
}
Delete Users (Disable)
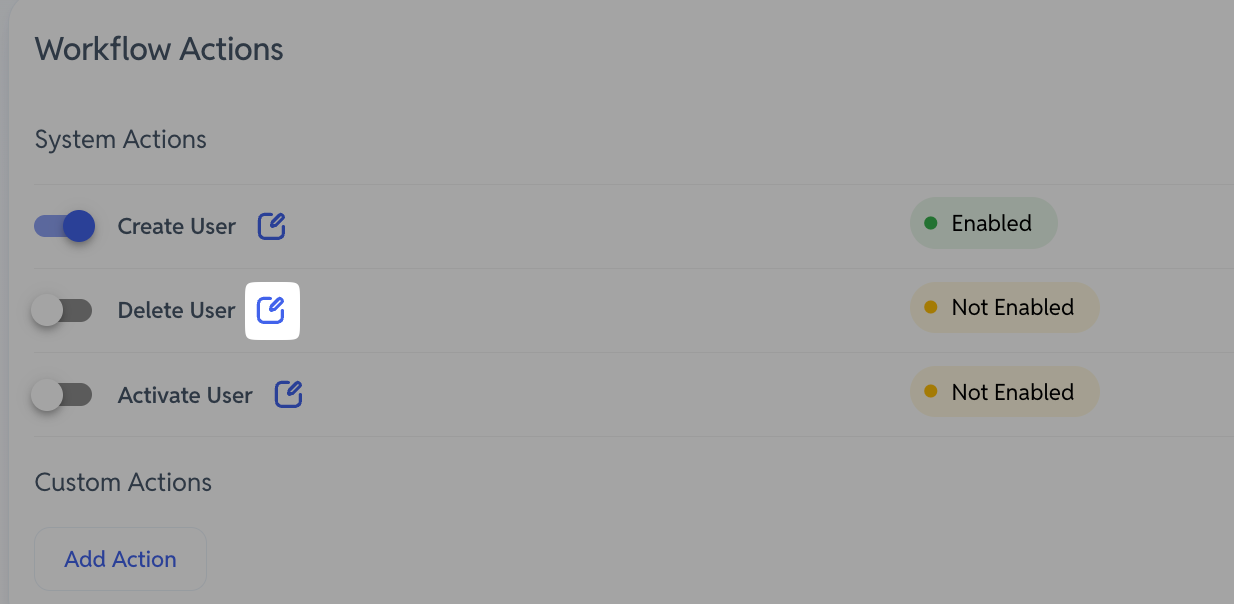
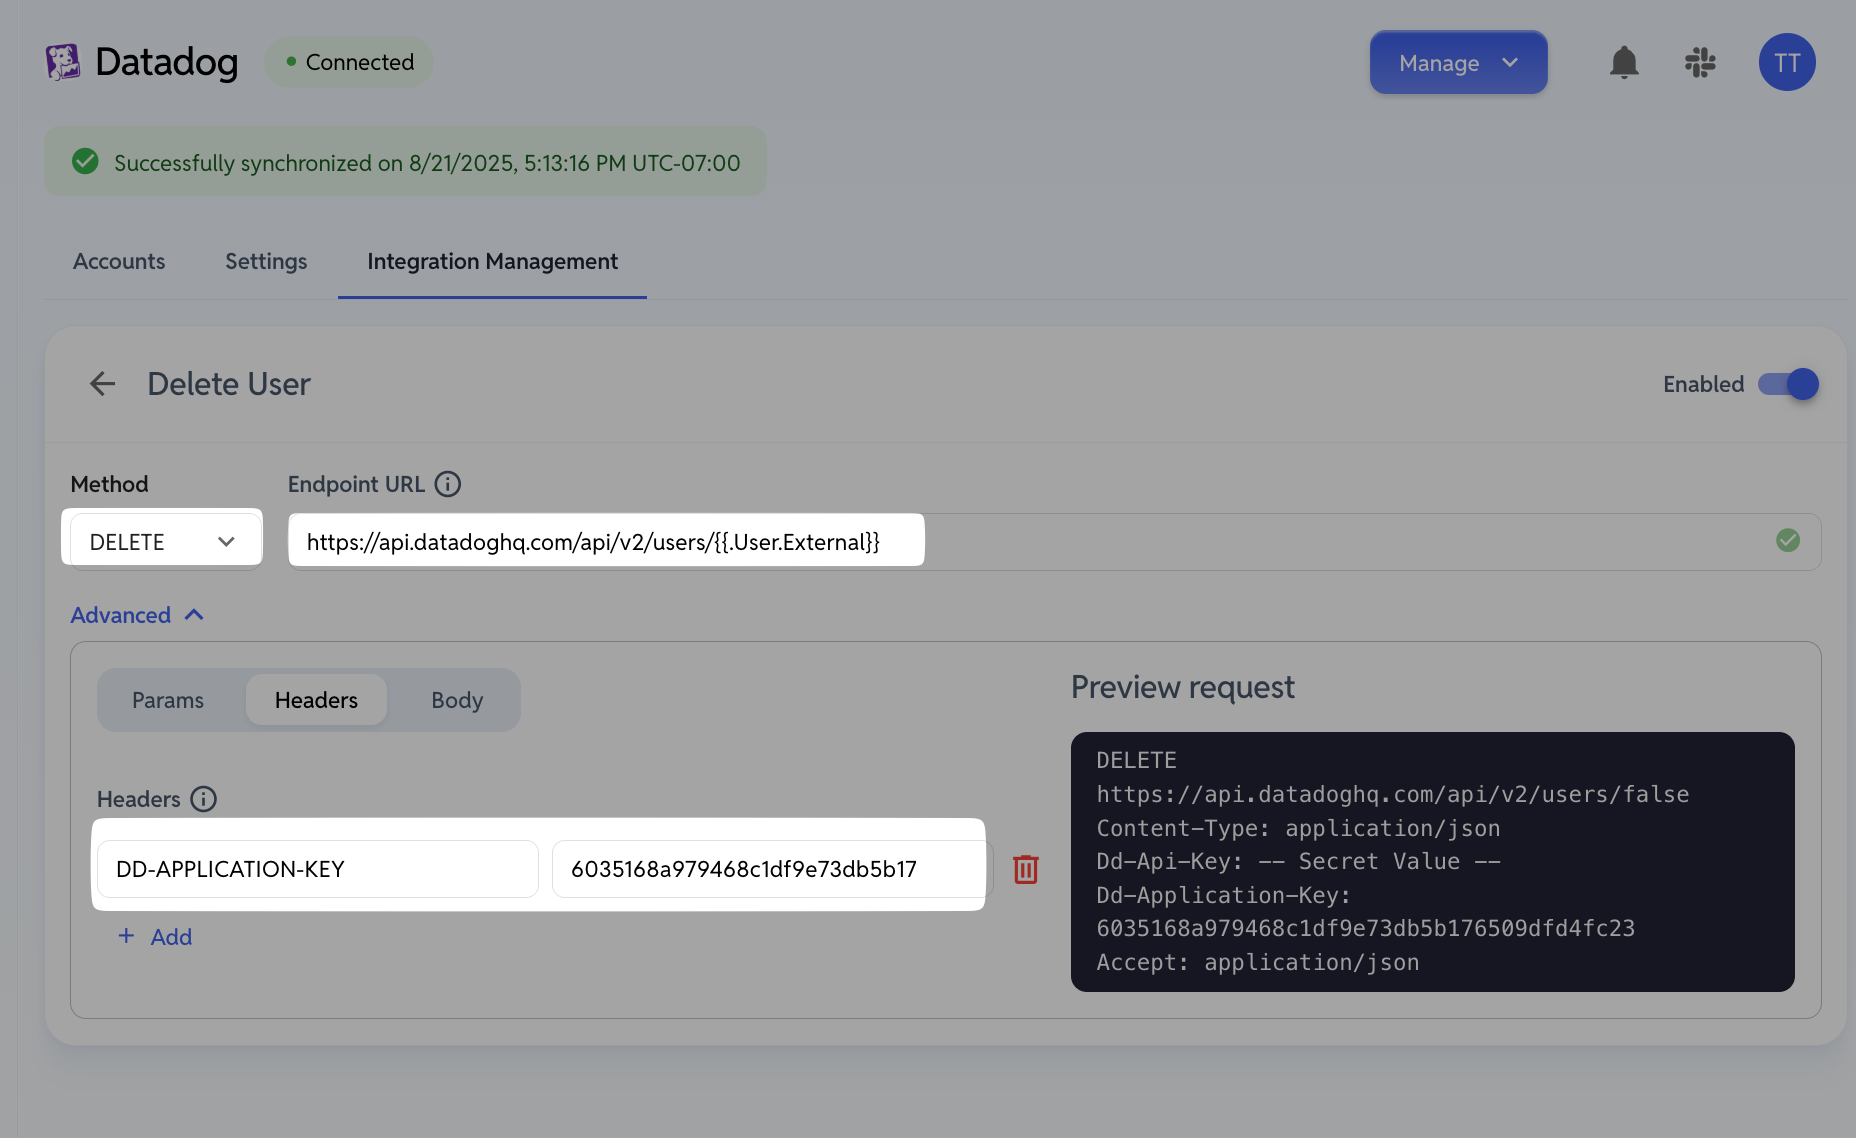
Click the Pencil Icon for Create Users
Add the header for
DD-APPLICATION-KEYwith your Application key (see above)Set Method:
DELETEand Endpoint URL: https://api.datadoghq.com/api/v2/users/{user_id}