Connect & Integrate Slack [SCIM]
Last updated: August 20, 2025
At time of writing, connecting to Slack with SCIM requires the Business+ or Enterprise Grid plans in Slack. See https://ssotax.yeshid.com/?q=Slack+Technologies
Known Limitation of Google SSO: At this time if a Slack workspace is set to use Google SSO, it is not possible to create an invite link. If using SCIM - use the provided user creation features.
Introduction
This guide covers how you can connect YeshID to Slack with SCIM to enable automated:
List Users (Auto sync)
Create Users (Auto provisioning)
Delete Users (Auto deprovisioning)
Steps
1. Create a New Application
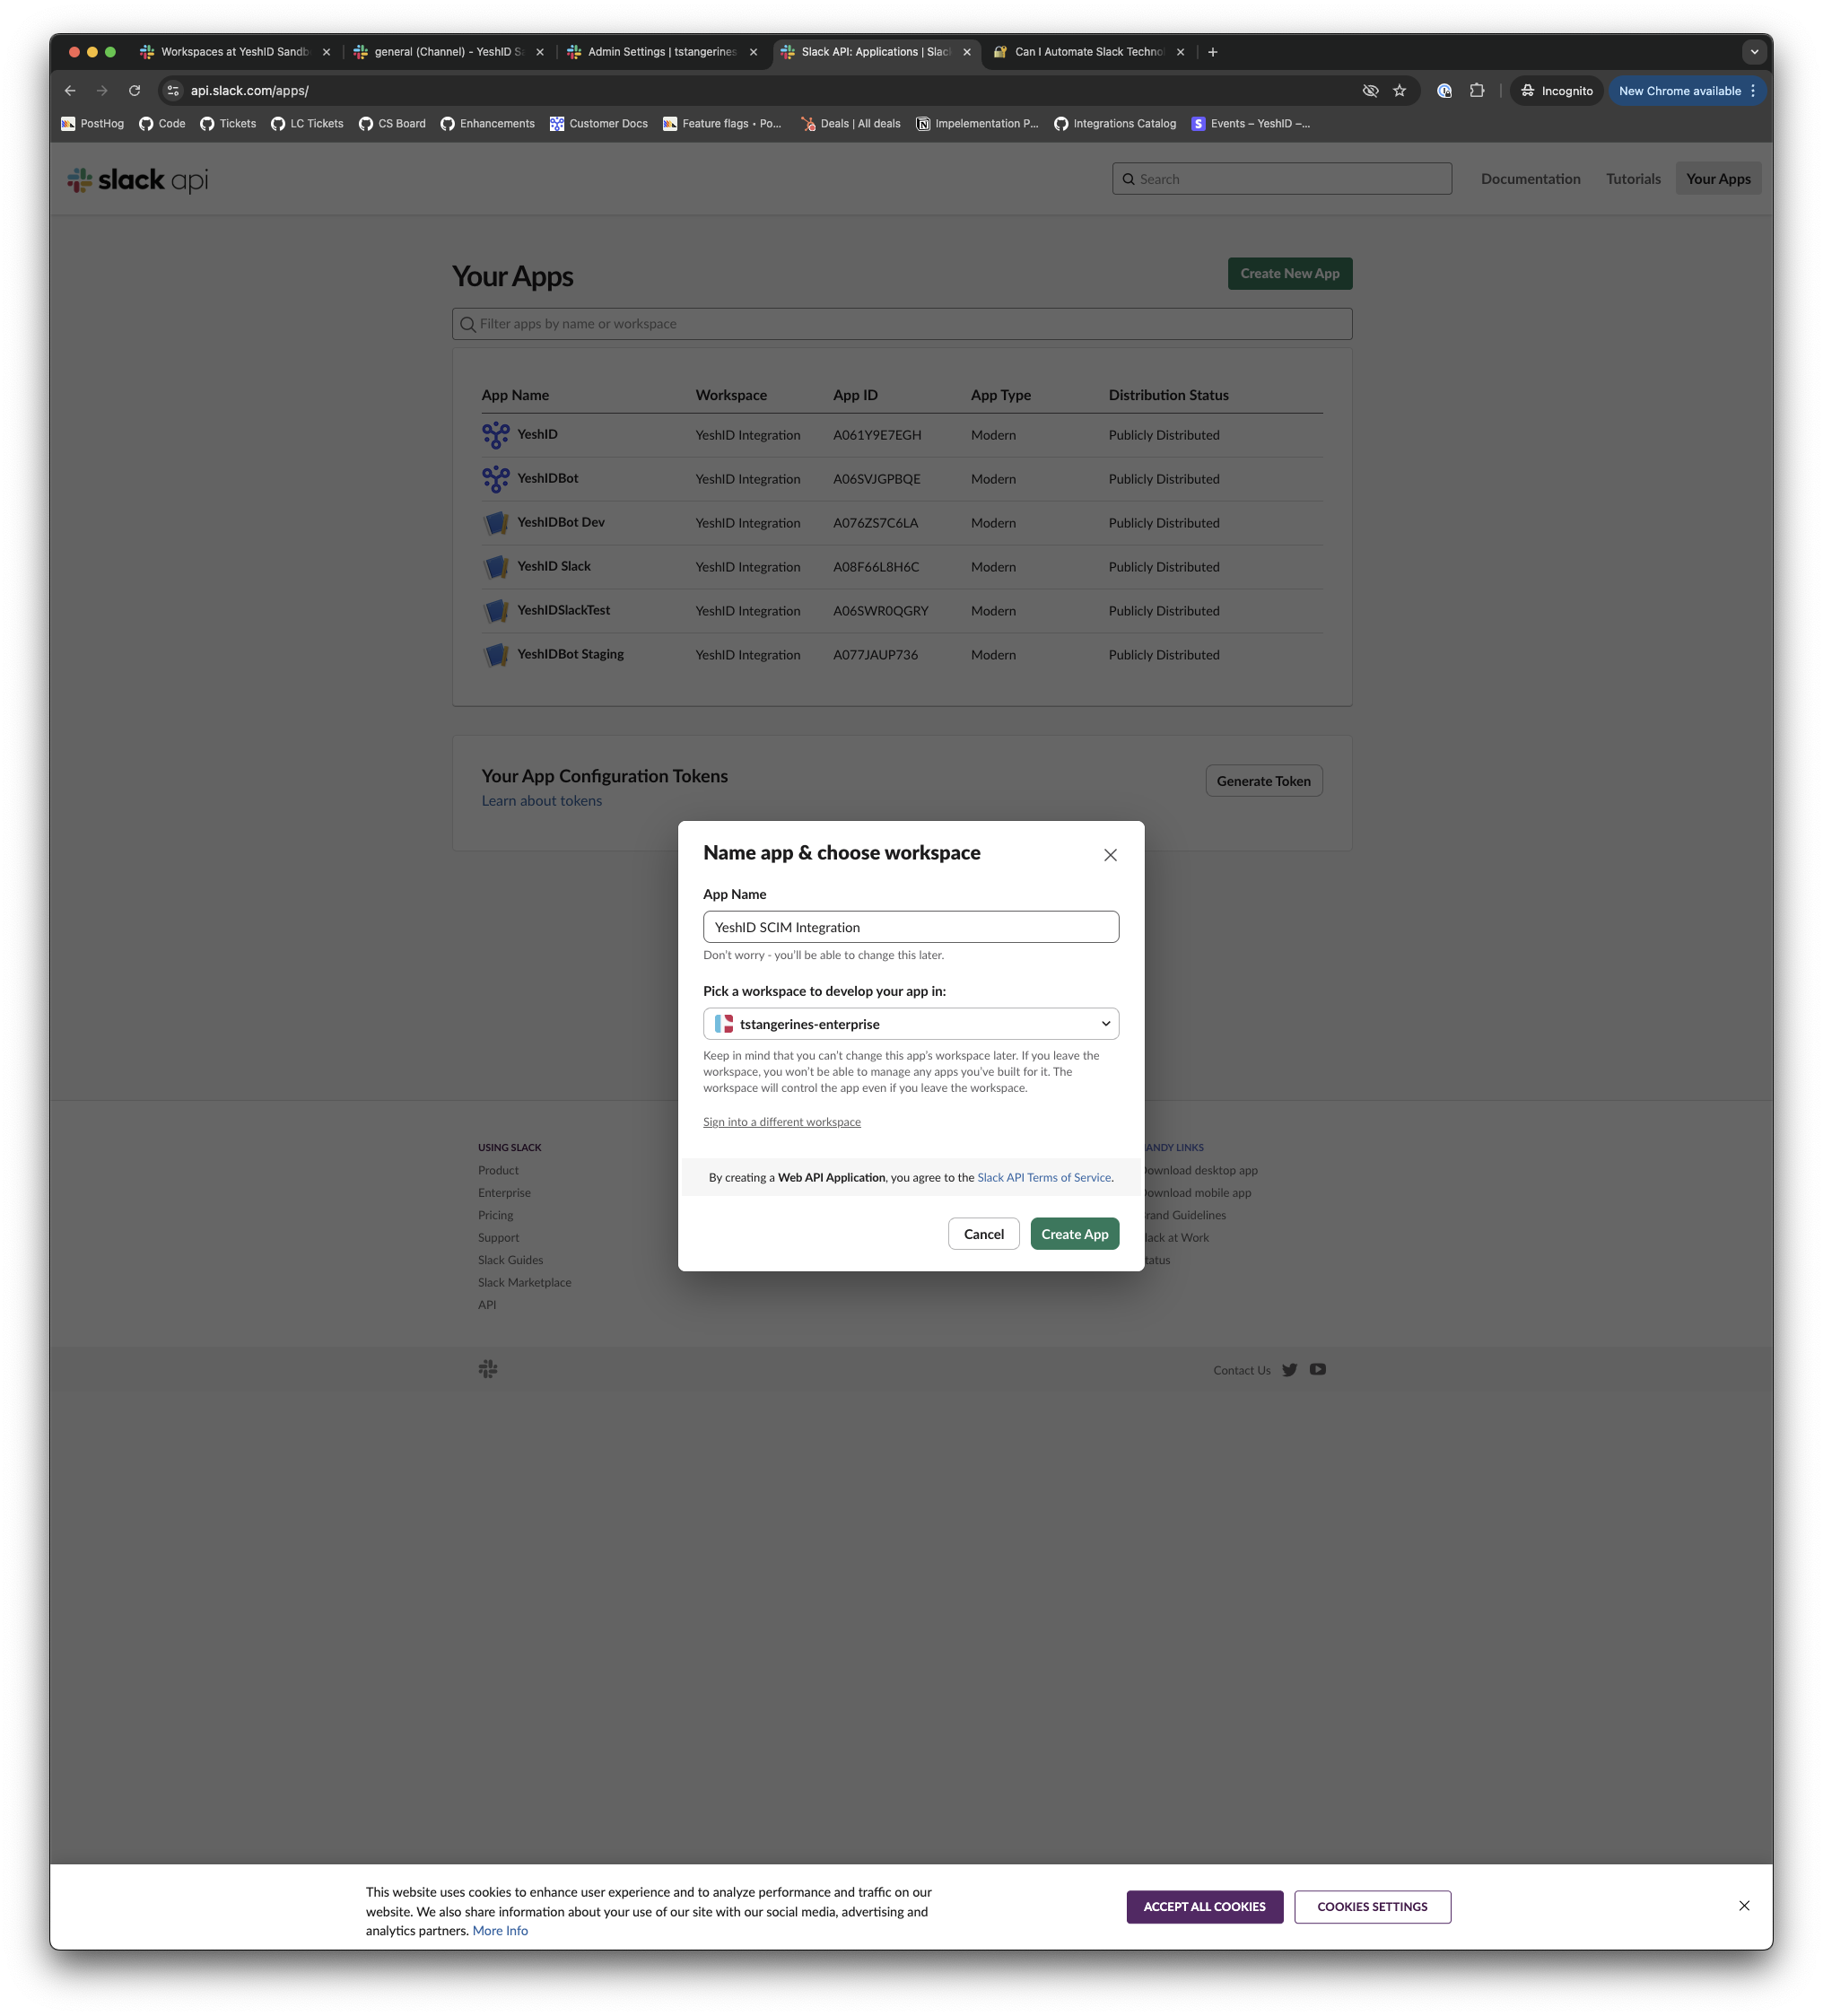
2. Enter in App Details (App name, Description)
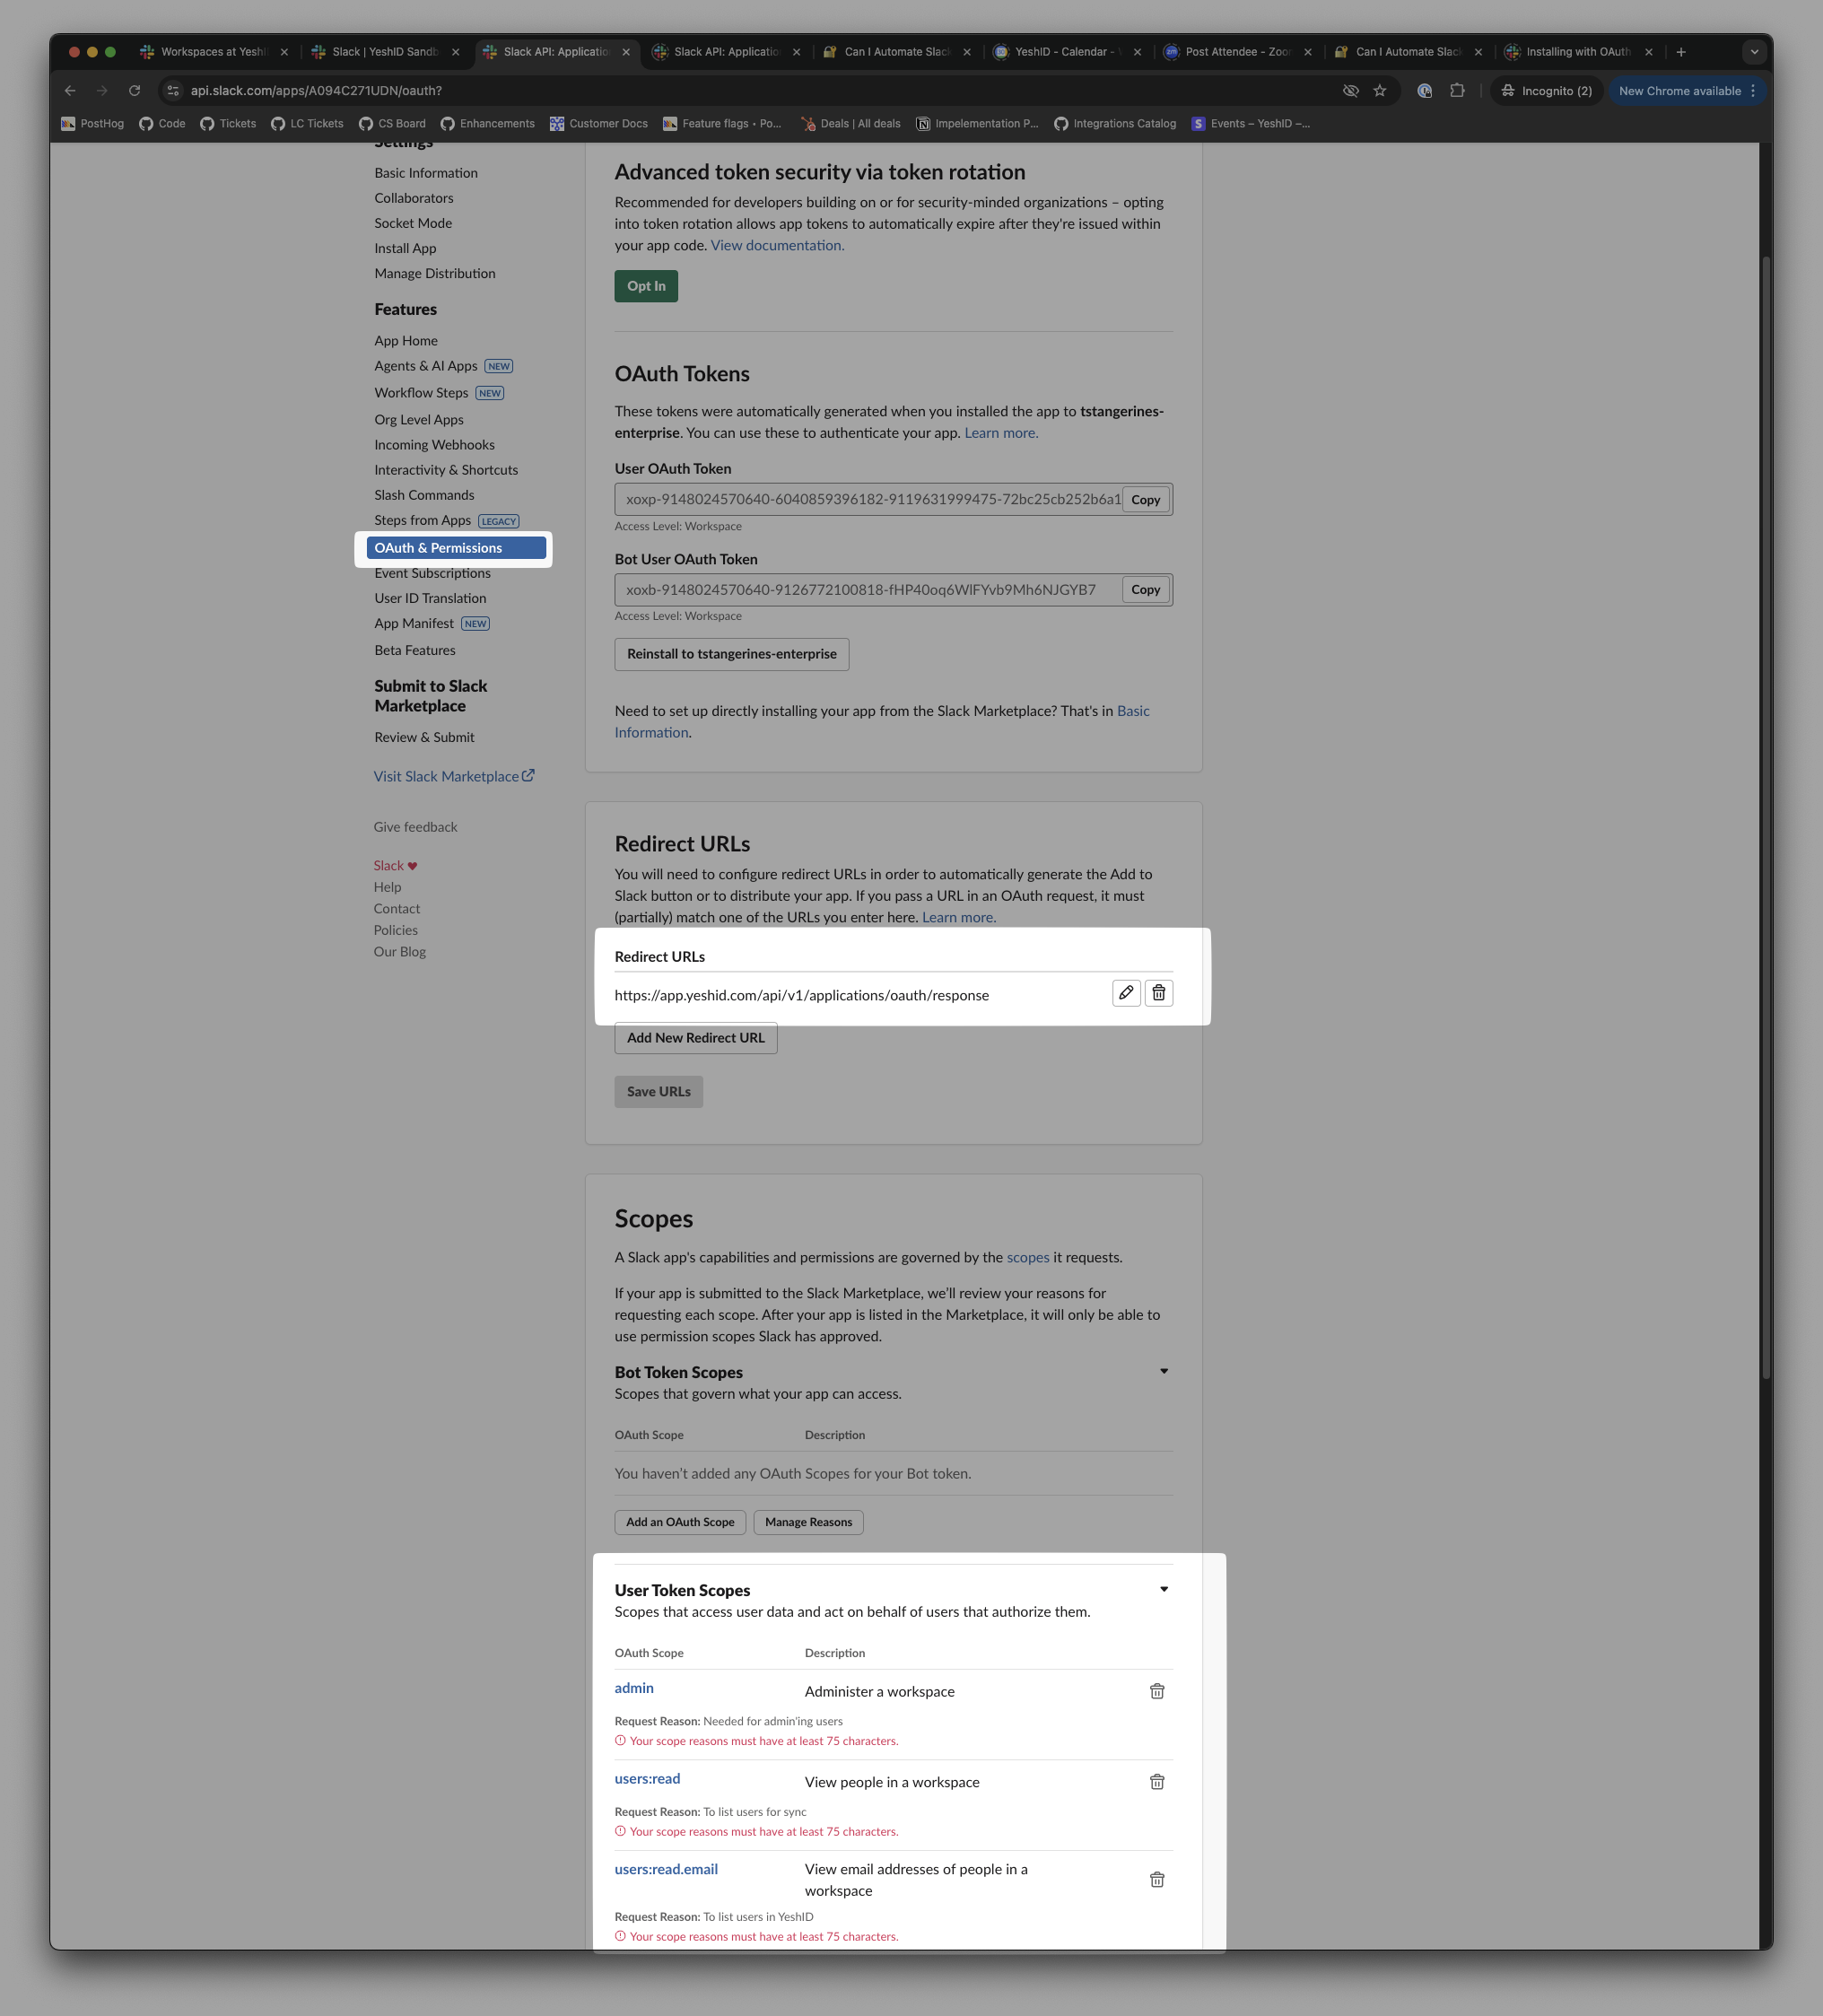
3. Add Relevant Scopes
Navigate to
oAuth PermissionsAdd the following scopes
users:readusers:writeadmin
Add the following redirect URL:
https://app.yeshid.com/api/v1/applications/oauth/response
If you're using Enterprise Grid, you must:
Acknowledge you've removed hardcoded information; and
Enable public distribution
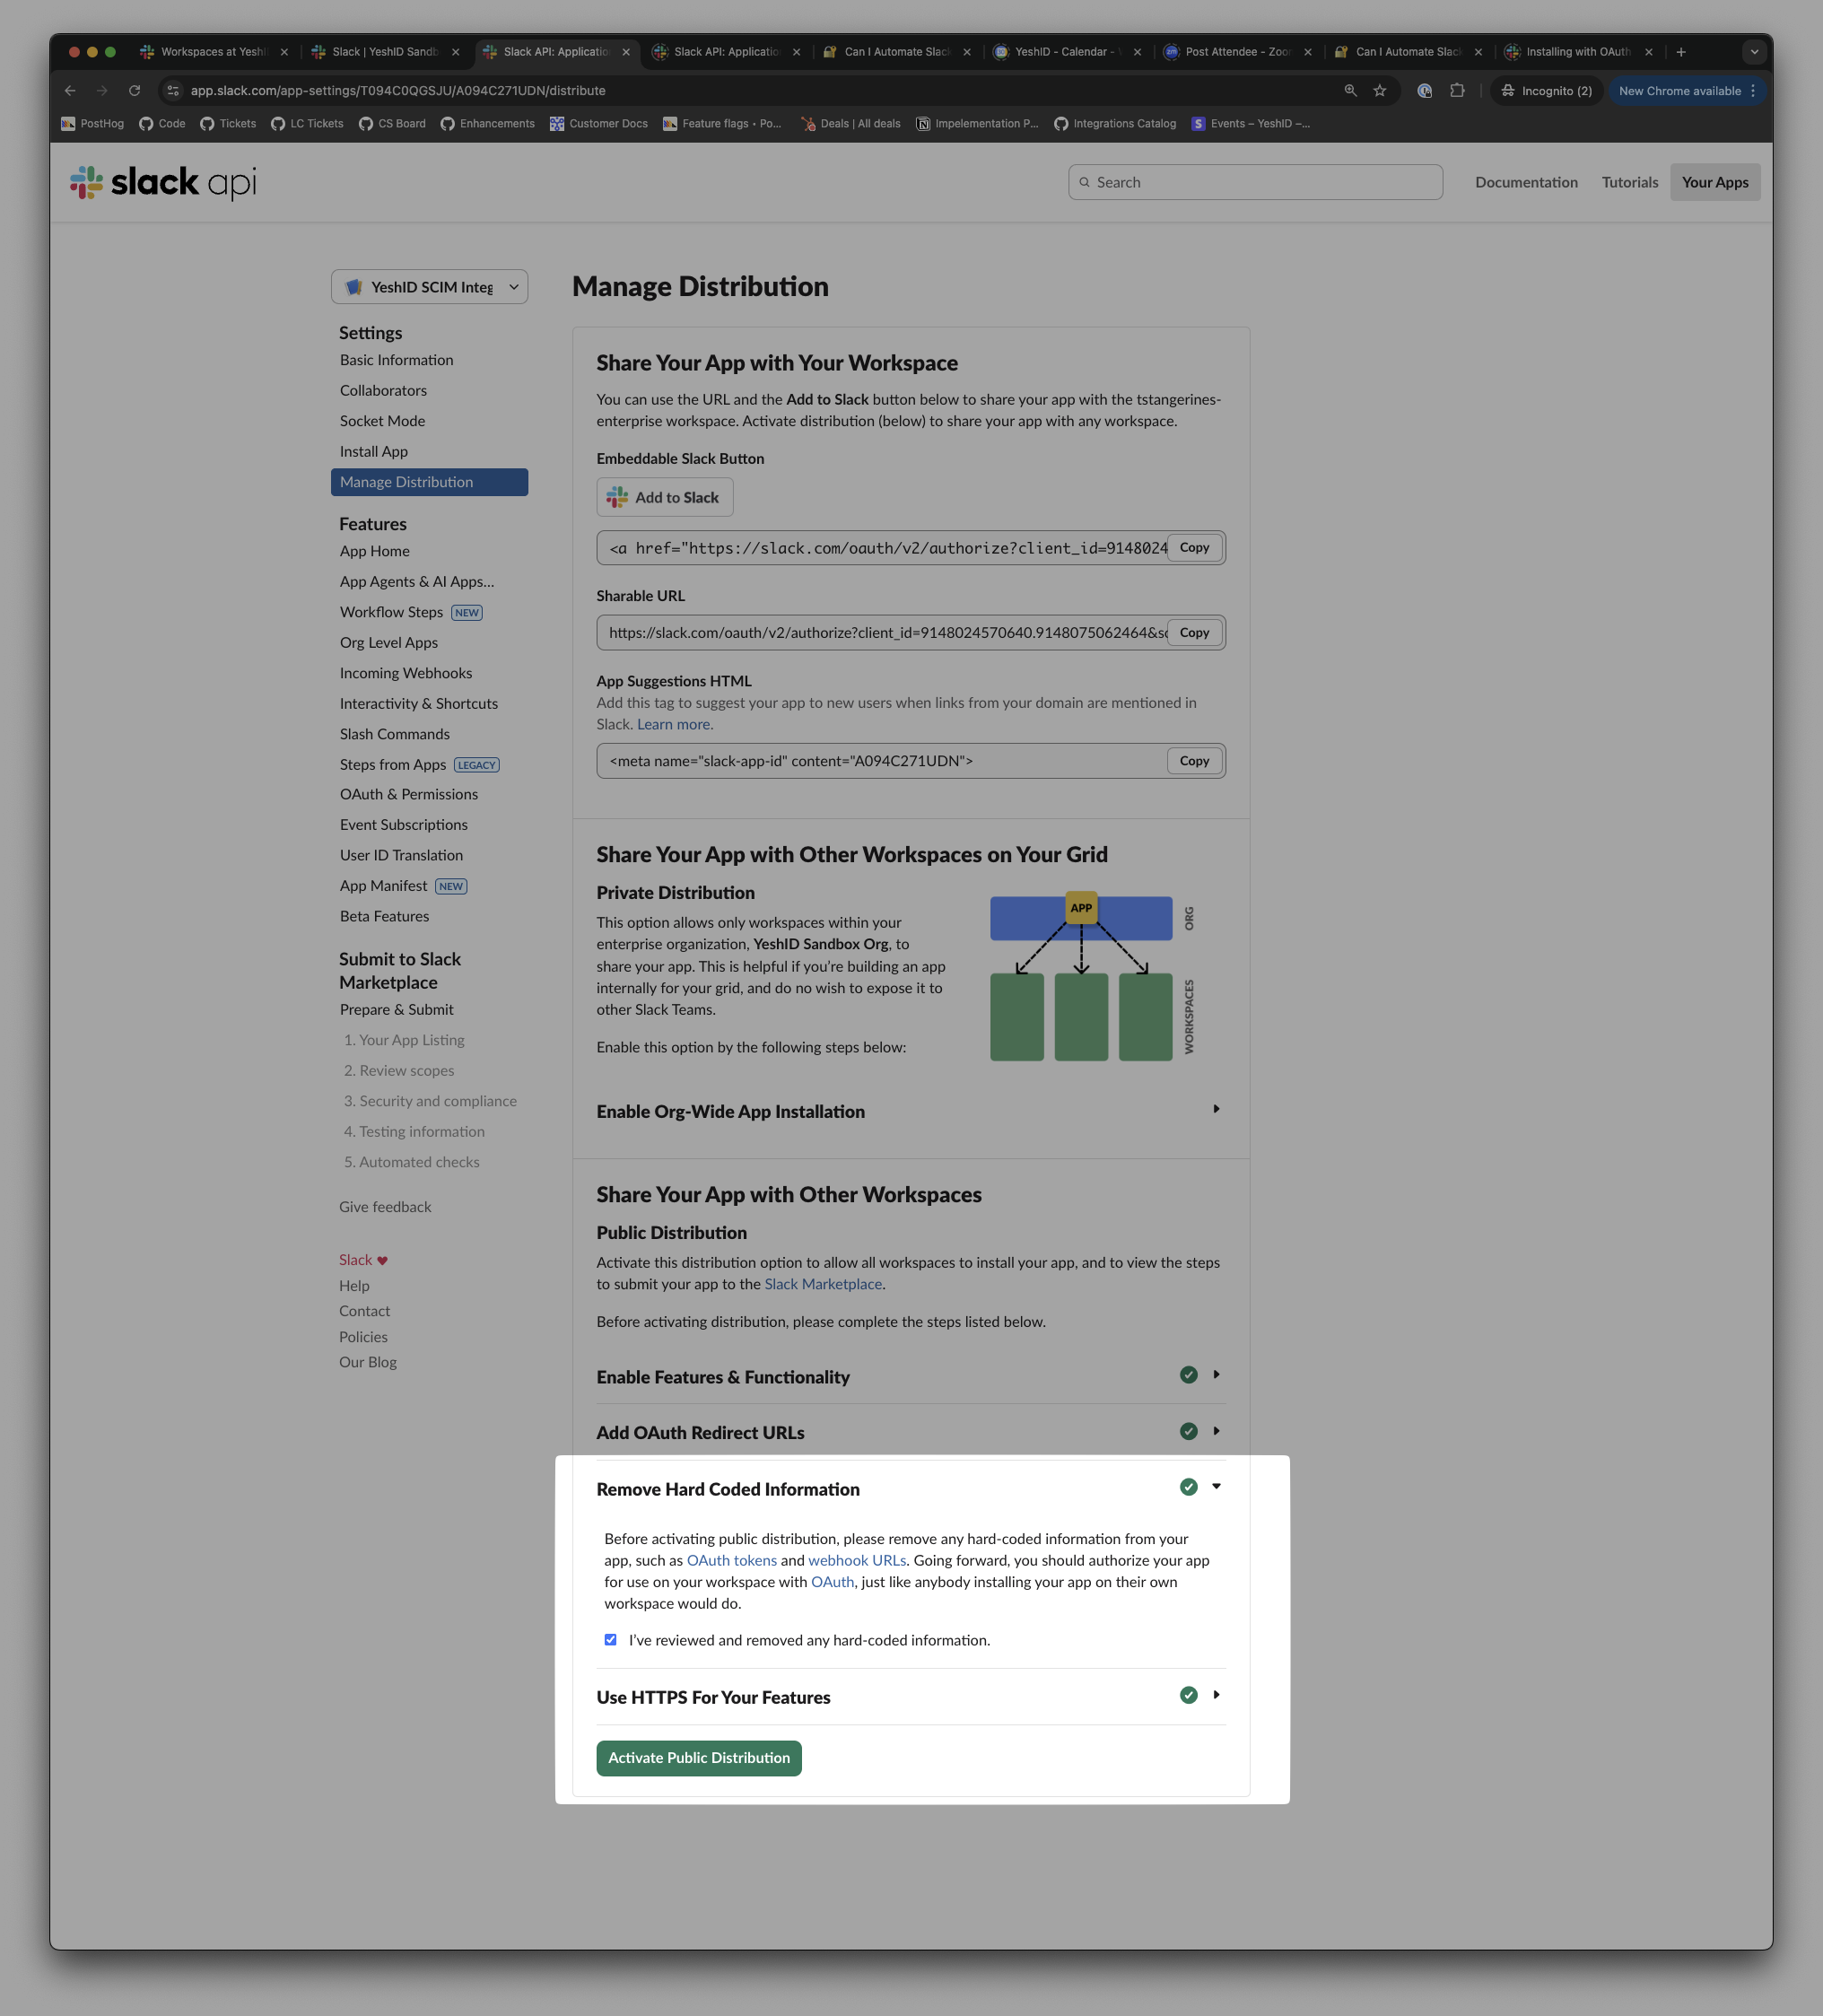
4. Connect in Slack
Integration type:
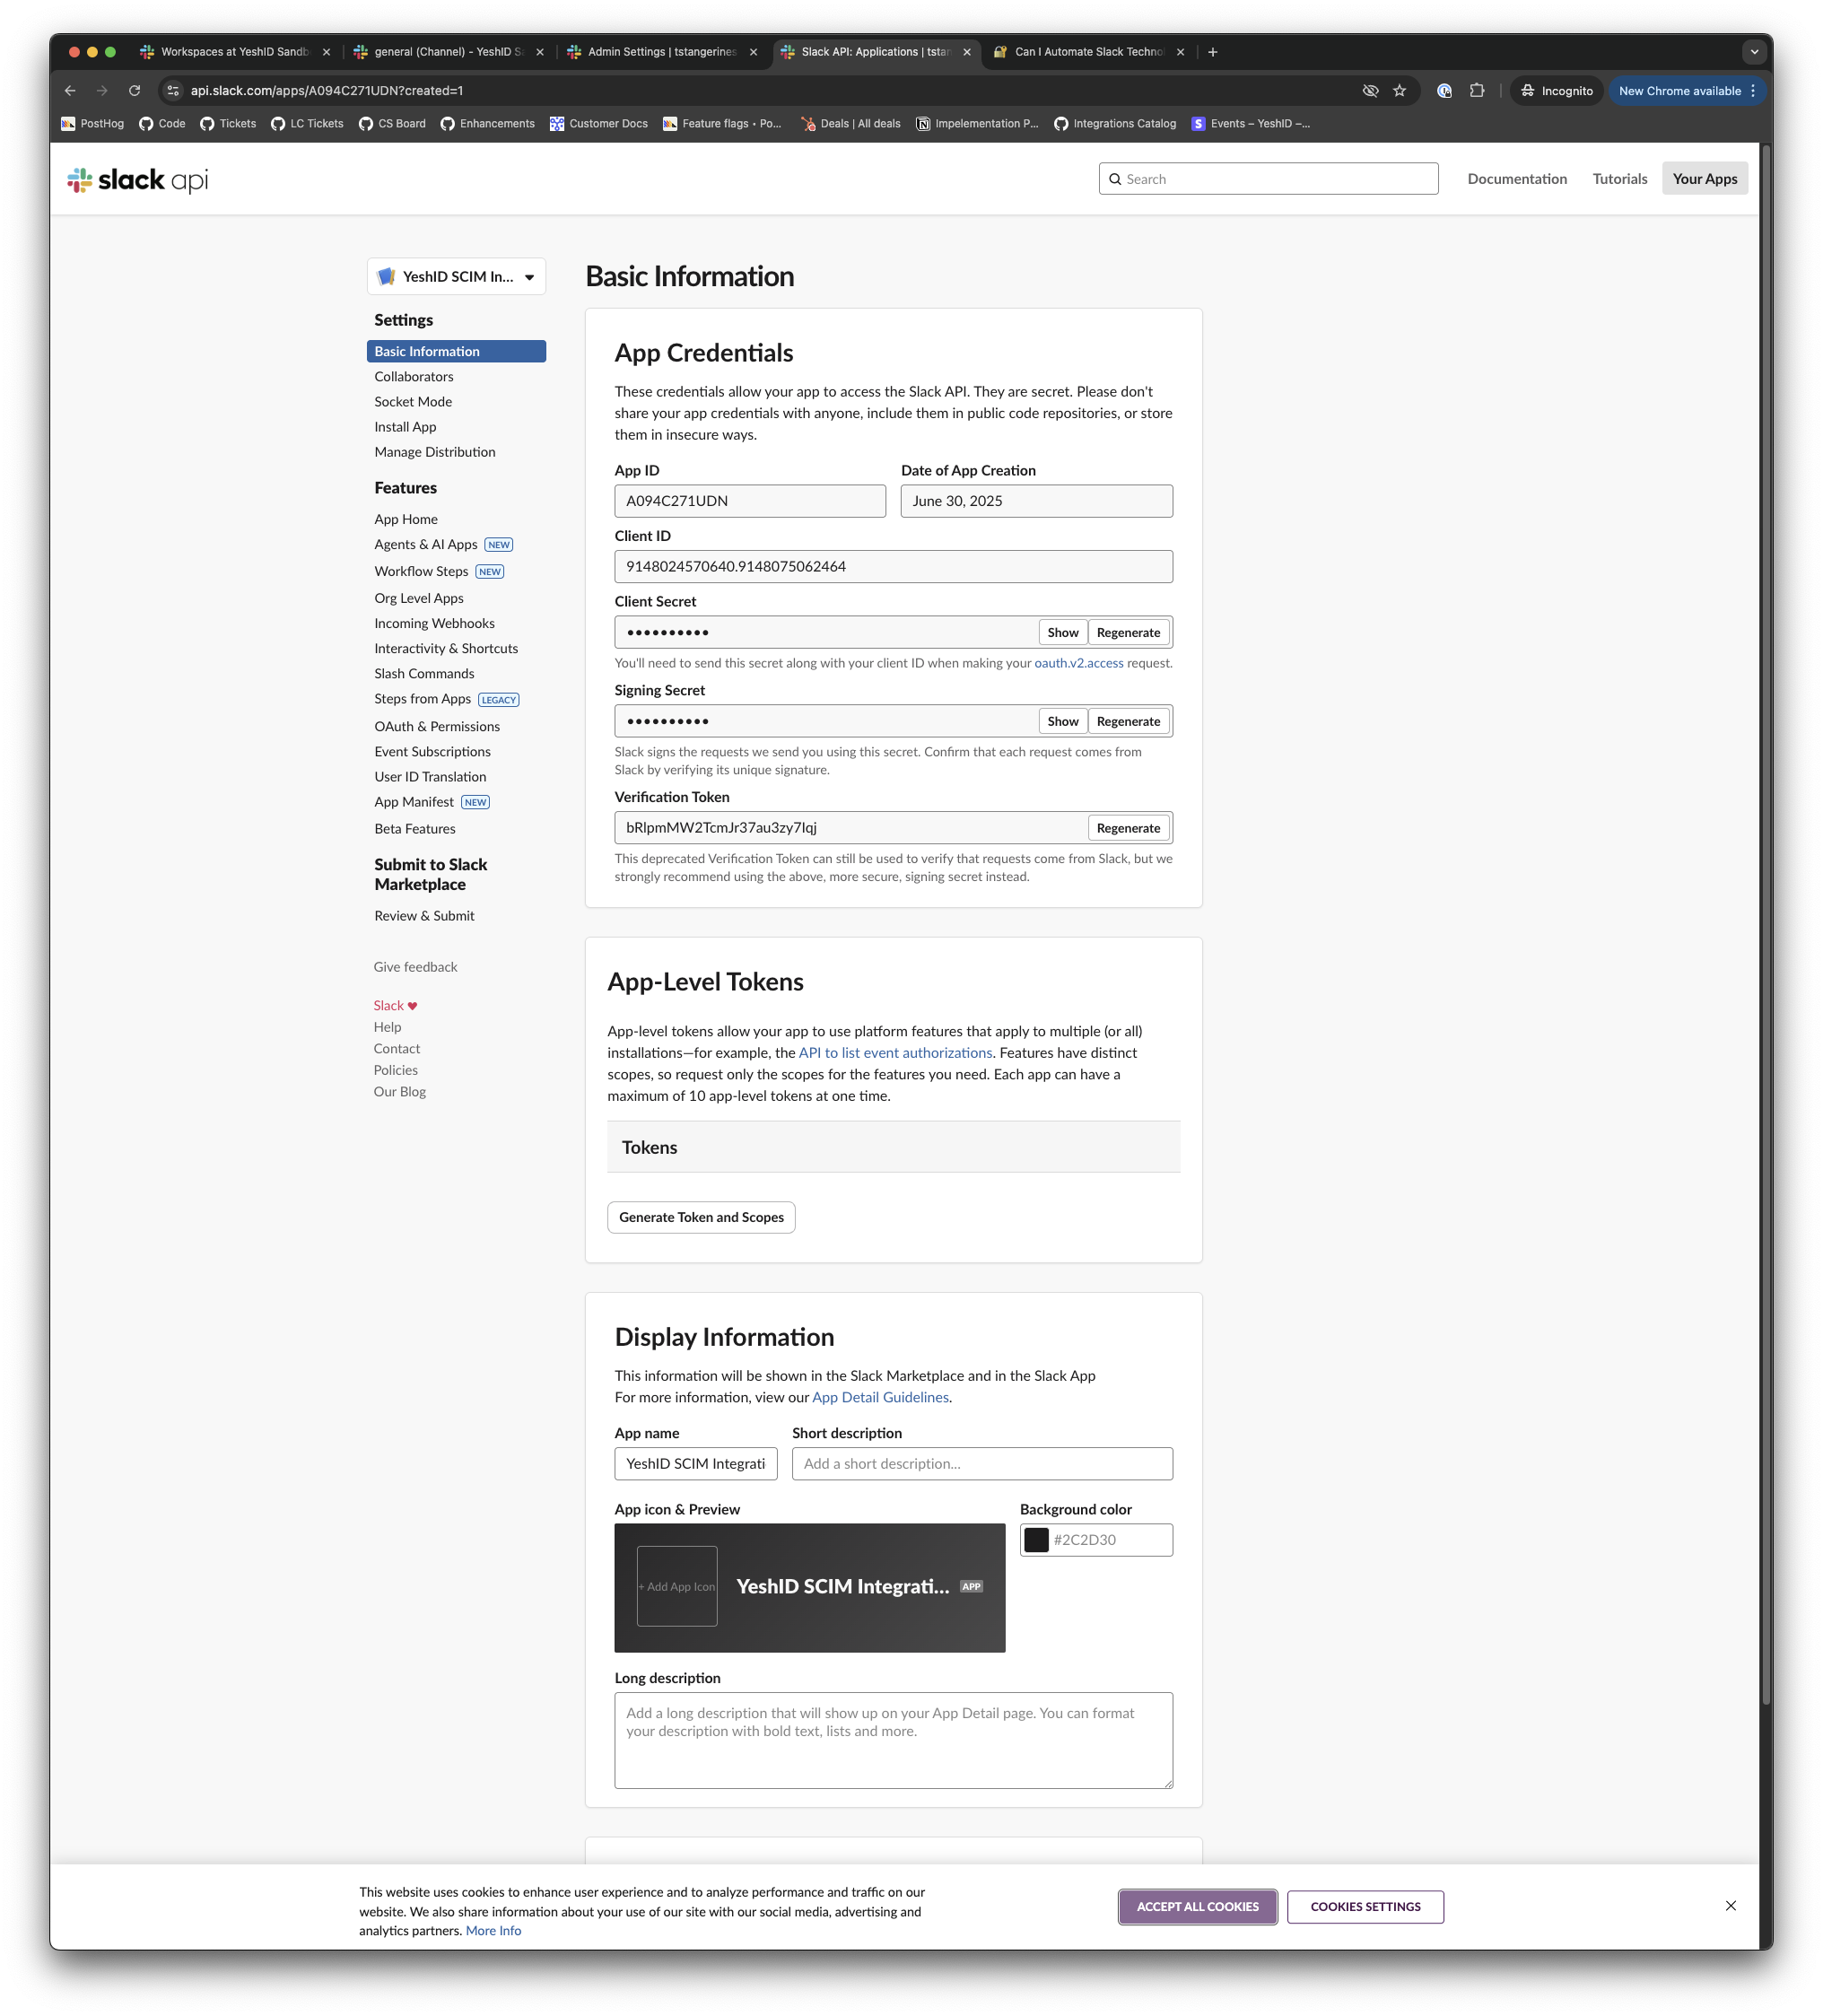
SCIMClientID: From above
Client Secret: From above
5. Authorize
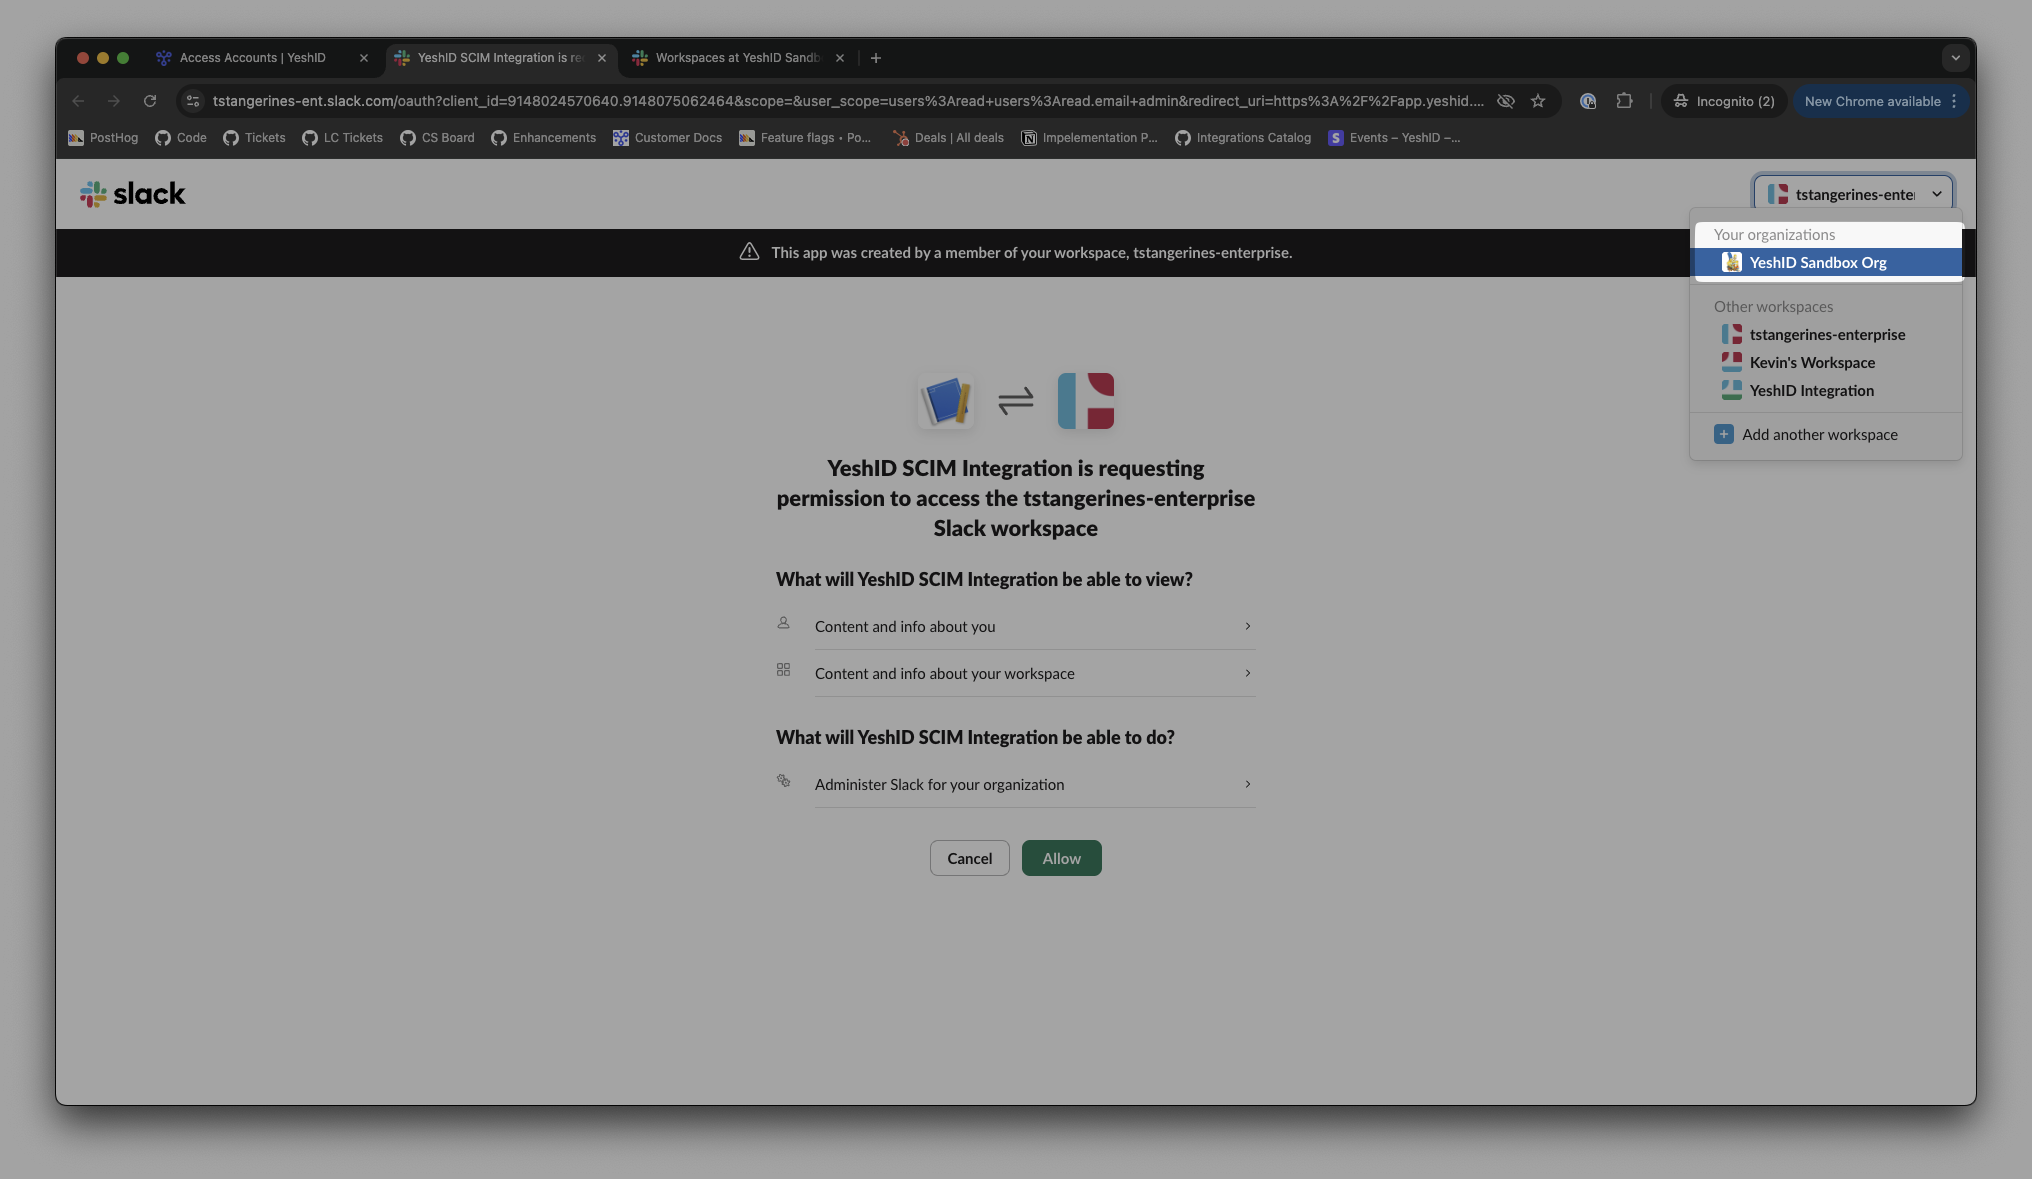
If you're using Enterprise Grid
Pick the Organization from the dropdown.
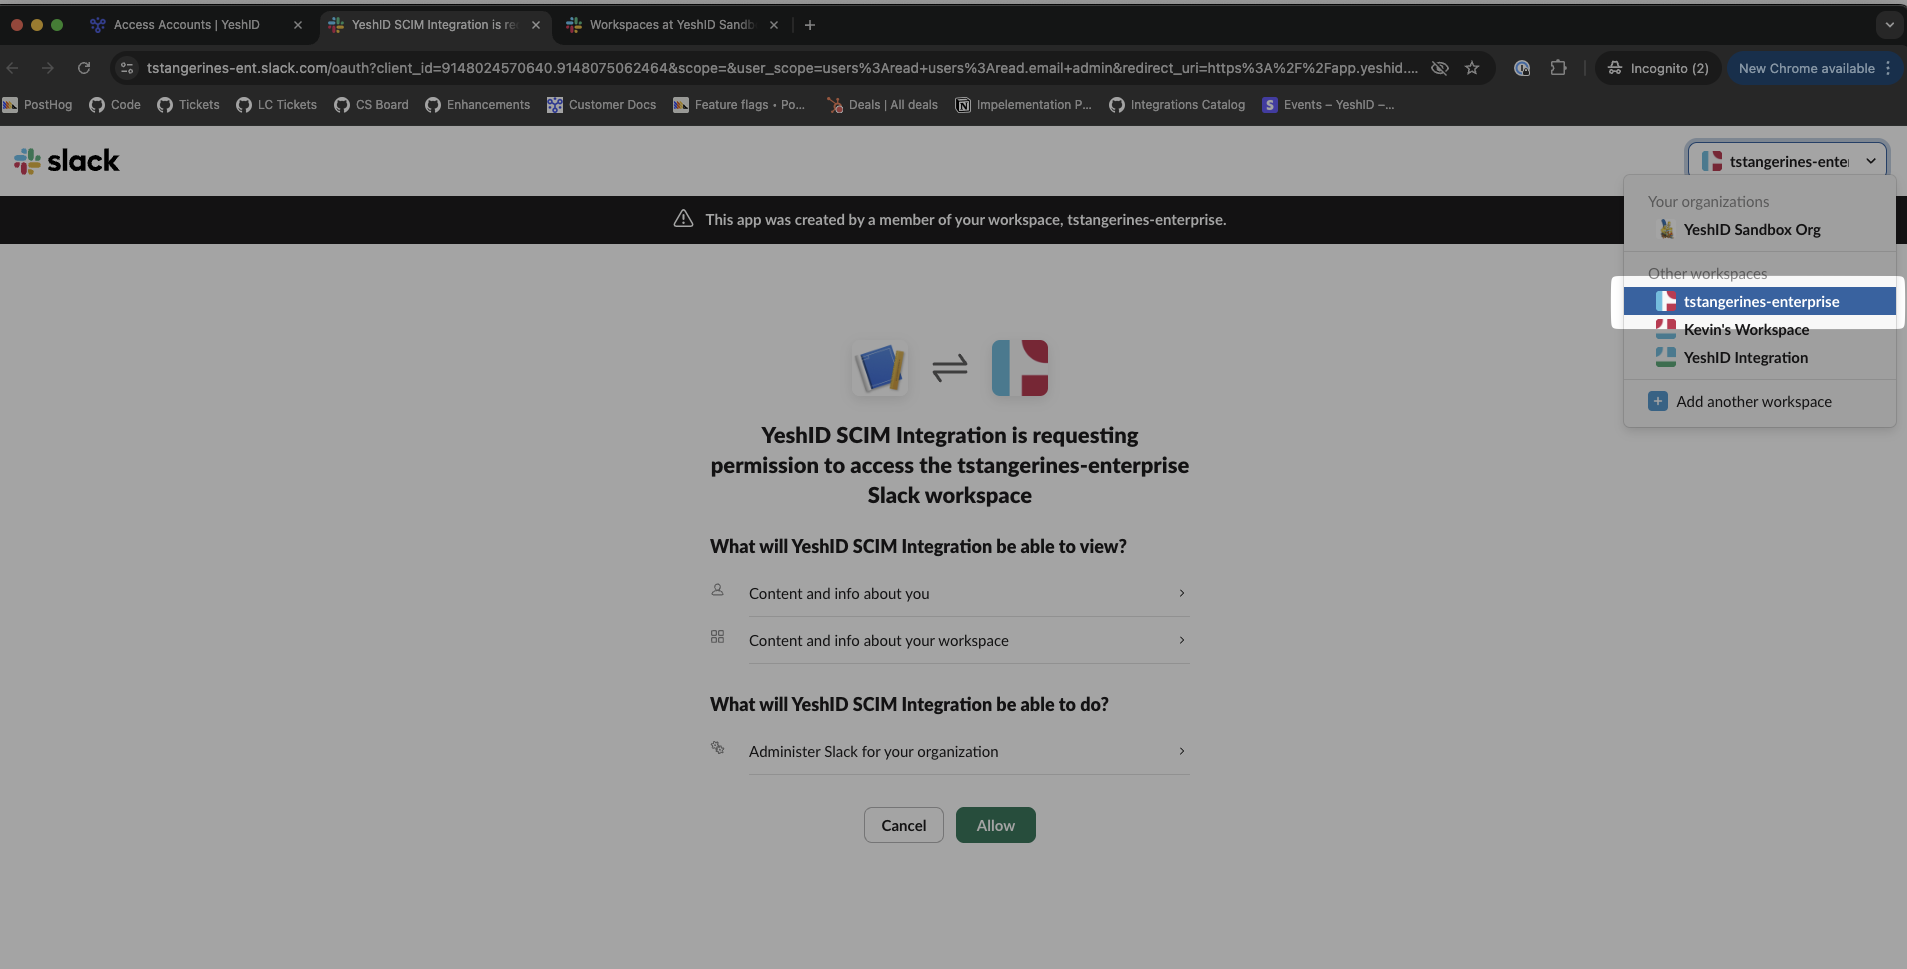
For Business+, pick the workspace in the selector on the top right.
6. Test Import Users
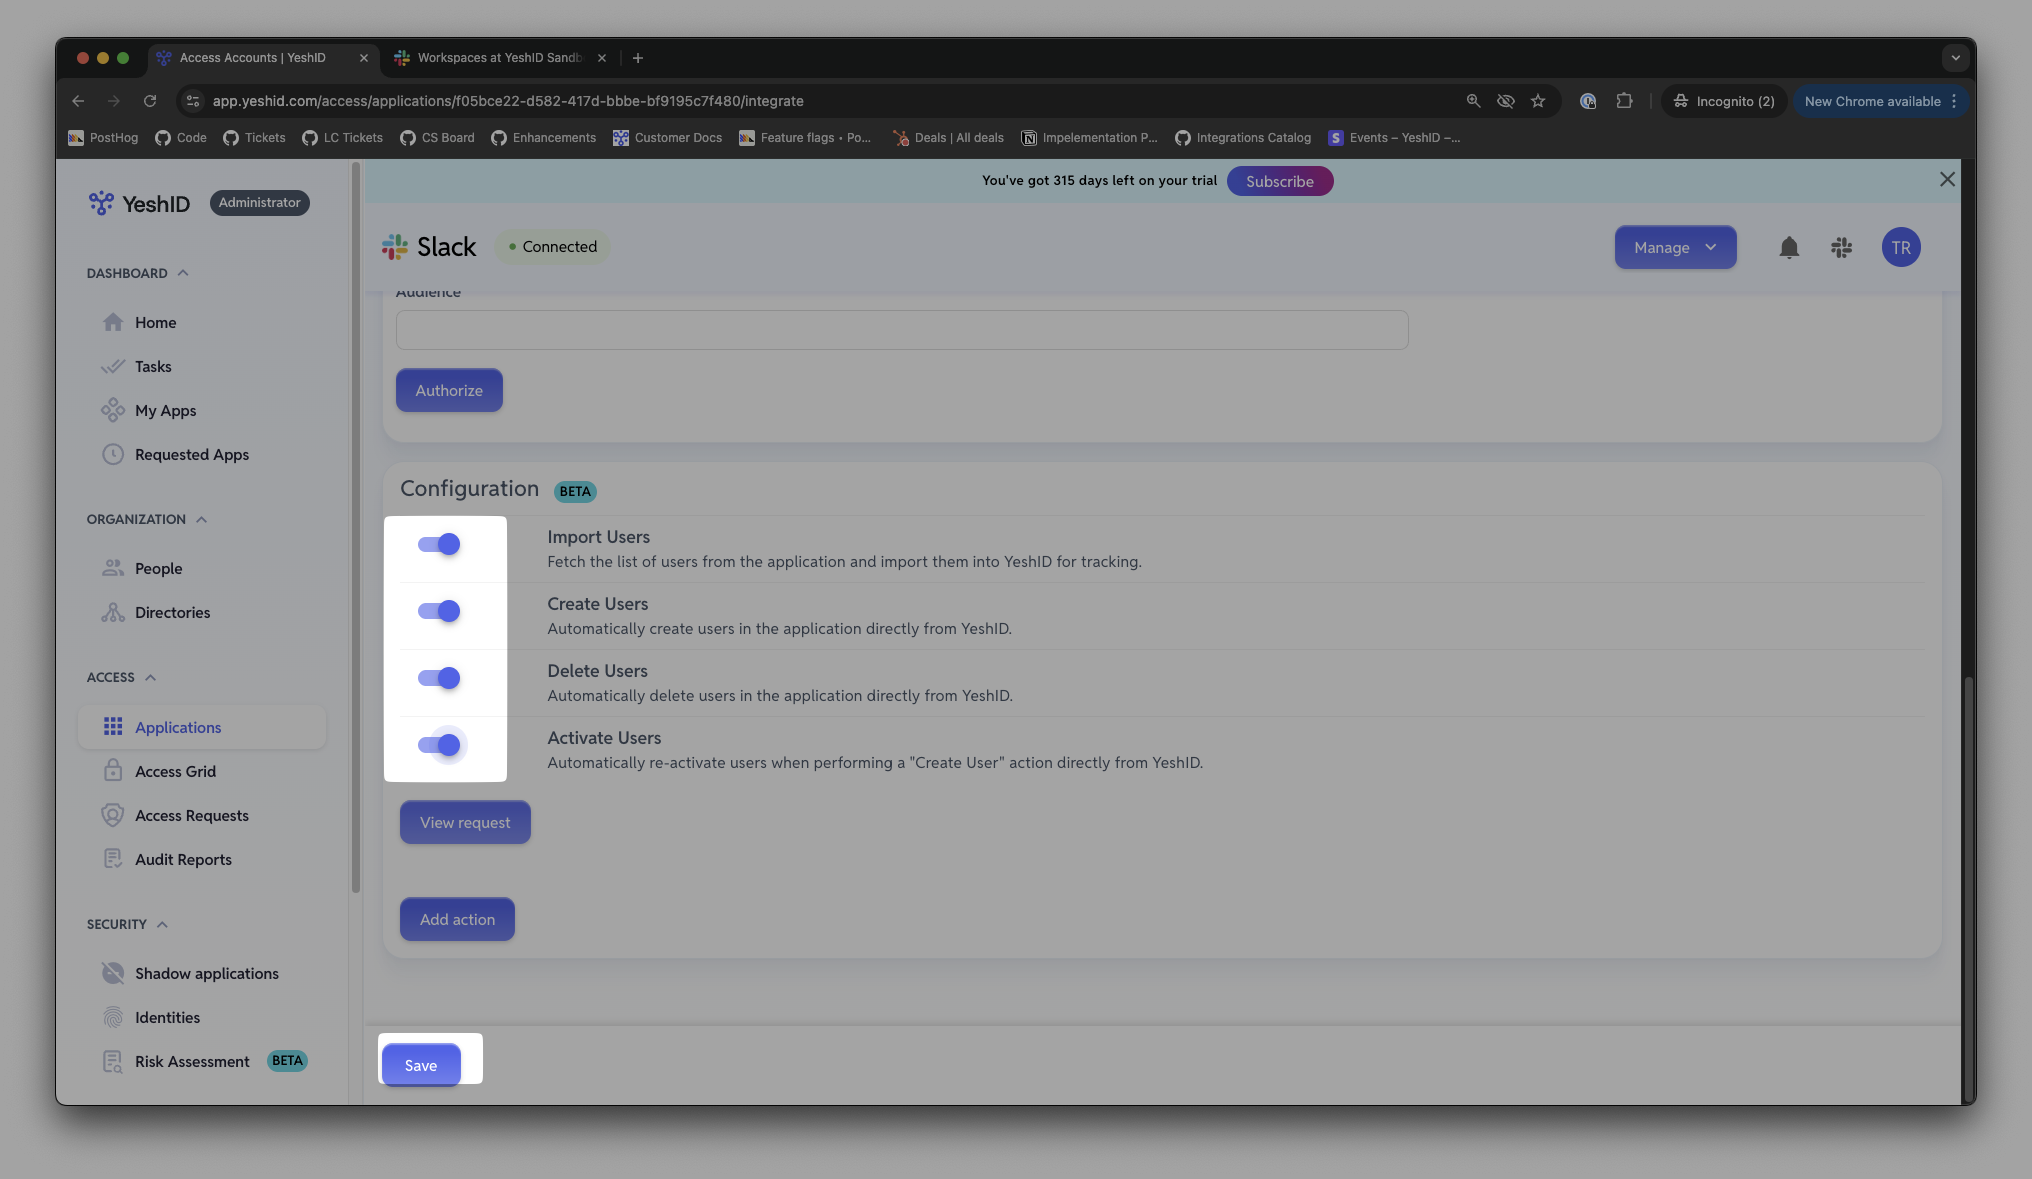
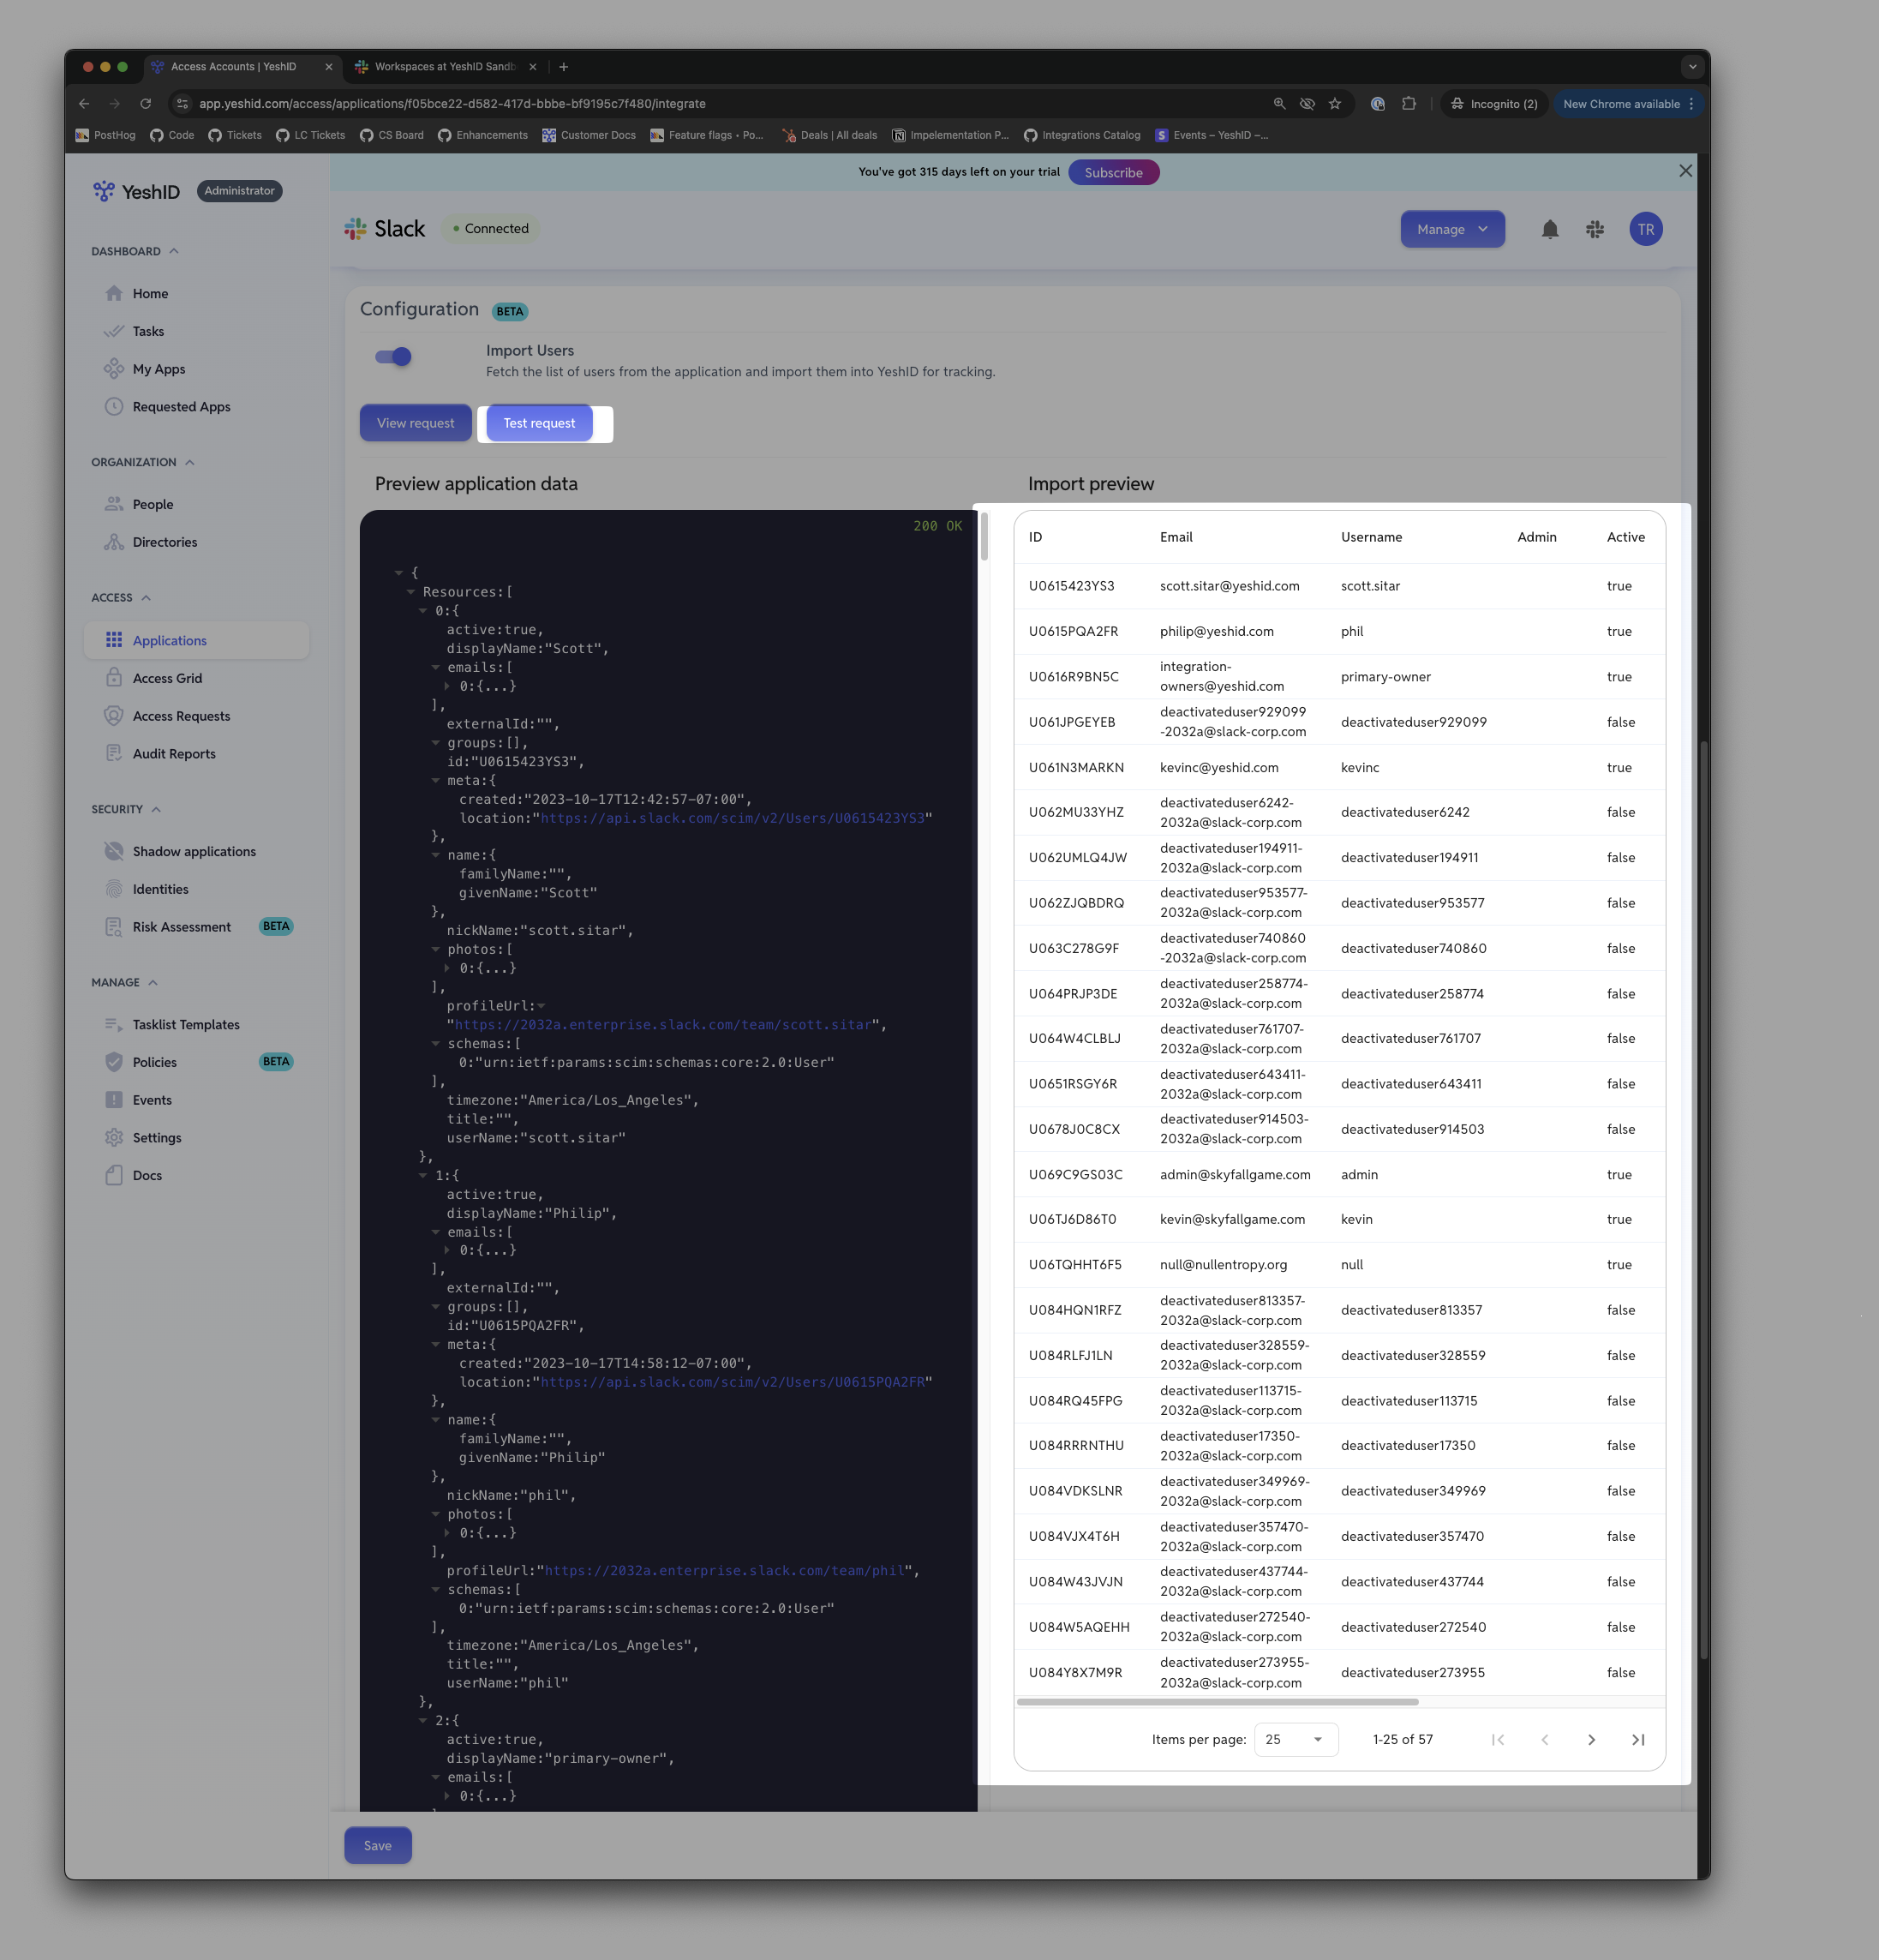
Enable the button for "Import Users"
Click "Test Request" for Import Users.
If you see users populating, this has suceeded ✅
7. Enable the remaining actions and Save